Showing posts with label home decor. Show all posts

Thursday, November 16, 2017

Free Tiny Stockings Advent Calendar


Advent calendars are so fun! I remember waking up each December morning, popping open a little door on my cardboard advent calendar, and treasuring each delicious (at least to my 8 year old mind--we all know it tastes sorta waxy and cheap) piece of chocolate. This handmade advent calendar will bring the magic of Christmas to your home each morning, as a treasure is revealed inside each tiny stocking. Crocheted in a rainbow of colors and labeled with chipboard number stickers, this fun decoration will be a treasured heirloom to keep forever. Hung as a garland on the fireplace mantle, or straight up and down on a wall, the string of stockings will fill kids with anticipation for the big day.

The stockings are so quick to crochet, and with no sewing involved, you'll be crocheting many in no time. Use lots of different colors, or make them in traditional red and white.


Instead of Christmas colors, crochet eight little stockings in a Winter white and blue color scheme and fill them with gelt for a gorgeous Chanukah decoration.

Tiny Stockings Advent Calendar

Materials List
Caron "Simply Soft Party" Yarn -- Red, Fuchsia, Snow, Purple
Red Heart "Soft" Yarn -- Tangerine
American Crafts "Thickers" Number Stickers -- Sprinkles Glitter White
*Full disclosure: Some of these are affiliate links and will earn me a little cash! 

Abbreviations
Ch: Chain
Sc: Single Crochet
Hdc: Half Double Crochet
Dc: Double Crochet
Sl St: Slip Stitch
Rnd: Round
Rep: Repeat
Hdc2tog: Half Double Crochet 2 stitches Together

Note: Stockings are made in two colors, A and B. Choose from any two colors of worsted weight yarns.

Stocking
Starting at the toe of the Stocking, with yarn A and a G hook, make an adjustable ring, ch1, sc 6 into ring. Pull tail gently to close ring.

Rnd 1: Work 2 sc into each st (12 sts)
Rnds 2-5: Sc into each st.
Change to B at the end of Rnd 5.

Heel
Row 6: Sc in next st, 2 hdc in next st, 2 dc in next 2 sts, 2 hdc in next st, sc in next st (10 sts)

Row 7: Ch 1, turn, sc in each st across.
Row 8: Ch 1, turn, sc in next st, hdc2tog four times, sc in last st (6 sts)
Change to A at the end of Row 8.

Leg of Stocking
Rnd 9: Working down into sts of Rnd 5, without turning (see photo above for where to crochet), sc into next 6 sts, working into top edge of Row 8, sc into next 6 sts (12 sts)

Rnds 10-12: Sc into each st around (12 sts)
Rnd 13: Sc into next 9 sts, change to B, sc into next 3 sts.

Rnd 14: Sc into each st.

Rnd 15: Sc into next 11 sts, ch 6, join with a sl st to same st.
Fasten off and weave in end.

Finishing:
Arrange stockings in order for assembling garland.

With desired worsted weight yarn and a G hook, ch 9, join to first ch with a sl st, ch 10, *(sc into loop at top of stocking, positioning it left or right, ch 15), repeat from * for each until last stocking. For last stocking, sc into loop, ch 19, join with a sl st into 9th ch from hook. Fasten off and weave in ends.


Apply stickers to stockings in numerical order (or not, if you want to be tricky!). Use craft glue or hot glue if necessary to make sure stickers stay adhered. (Mine stuck fine without extra glue).

Use beginning loop and ending loop for hanging.

Do NOT stress out about this. You have lots and lots of time to make this before December 1st, even if its for next year :)

Hope you enjoy! If you make this, please tag me @craftyiscool on twitter and instagram, or tag @Crafty is Cool on Facebook!

*This pattern was previously posted and written for Michaels.com. Thanks for reading!

Monday, April 28, 2014

Free Pattern! Spring Fairy House

Spring has finally sprung! Here in Texas, anyway, it's warm and clear and *achoo!!* Oh yeah, there's the allergies. Well, even if you're suffering some sneezy fits, you can crochet this precious little Fairy House. It's fun to make. 

*This pattern was designed by me for Michaels.com.


Spring Fairy House
by Allison Hoffman, craftyiscool.com

Perfect for a springtime display, this little house will welcome tiny magical fairies. You'll love using simple stitches and fun embellishments to crochet the house, and children will love imagining the secret world inside. Texture-changing yarn creates the perfect landscape with a variety of green shades. A sweet butterfly rests on top and a tiny door opens and closes. 

Materials List
Caron "Simply Soft" – Orchid (A, 1 skein) & Bone (B, 1 skein)
Red Heart "Soft" -- Toast (C, 1 skein)
Red Heart "Boutique Changes" -- Jade (D, 1 skein)
Crochet Hooks, Sizes 3.5mm (US E/4) and 5mm (US H/8)
Tapestry needle
Polyester fiberfill
Embroidery Needle 
Plastic Canvas (small piece)
Blue and white felt
Craft glue
1/2" Brown button
3 1/2" Feather butterfly (Floral department)

Notes:
The pieces are all crocheted in the round in unjoined spirals, unless otherwise noted. Use a locking stitch marker if necessary to mark the beginning of each round. When you complete a round, move the marker to the loop on your hook and continue crocheting. 

Mushroom Cap 
With yarn A and an E hook, make an adjustable ring, ch 1, sc 6 into ring. Pull tail gently to close ring.
Rnd 1: Work 2 sc into each st (12 sts)
Rnd 2: *(2 Sc into next st, sc into next st), rep from * to end of rnd (18 sts)
Rnd 3: *(2 Sc into next st, sc into next 2 sts), rep from * to end of rnd (24 sts)
Rnd 4: *(2 Sc into next st, sc into next 3 sts), rep from * to end of rnd (30 sts)
Rnd 5: *(2 Sc into next st, sc into next 4 sts), rep from * to end of rnd (36 sts)
Rnd 6: *(2 Sc into next st, sc into next 5 sts), rep from * to end of rnd (42 sts)
Rnd 7: *(2 Sc into next st, sc into next 6 sts), rep from * to end of rnd (48 sts)
Rnd 8: *(2 Sc into next st, sc into next 7 sts), rep from * to end of rnd (54 sts)
Rnd 9: *(2 Sc into next st, sc into next 8 sts), rep from * to end of rnd (60 sts)
Rnd 10: *(2 Sc into next st, sc into next 9 sts), rep from * to end of rnd (66 sts)
Rnd 11: *(2 Sc into next st, sc into next 10 sts), rep from * to end of rnd (72 sts)
Rnd 12: *(2 Sc into next st, sc into next 11 sts), rep from * to end of rnd (78 sts)
Rnd 13: *(2 Sc into next st, sc into next 12 sts), rep from * to end of rnd (84 sts)
Rnd 14: *(2 Sc into next st, sc into next 13 sts), rep from * to end of rnd (90 sts)
Rnd 15: *(2 Sc into next st, sc into next 14 sts), rep from * to end of rnd (96 sts)
Rnd 16: *(2 Sc into next st, sc into next 15 sts), rep from * to end of rnd (102 sts)
Rnd 17: *(2 Sc into next st, sc into next 16 sts), rep from * to end of rnd (108 sts)
Rnds 18-20: Sc into each st around.
Rnd 21: *(Sc2tog, sc into next 2 sts), rep from * to end of rnd (81 sts)
Rnd 22: *(Sc into next st, sc2tog), rep from * to end of rnd (54 sts)
Rnd 23: *(Sc into next 7 sts, sc2tog), rep from * to end of rnd (48 sts)
Rnd 24: *(Sc into next 4 sts, sc2tog), rep from * to end of rnd (40 sts)
Fasten off, leaving a long strand of yarn for sewing. Set aside.

Mushroom Stem 
Starting at the top of the stem, with yarn B and an E hook, ch 40. Join to 1st ch with a sl st.
Rnd 1: Hdc into the first ch and each ch around (40 sts)
Rnd 2: *(2 Hdc into next st, hdc into next 19 sts), rep from * to end of rnd (42 sts)
Rnd 3: *(2 Hdc into next st, hdc into next 6 sts), rep from * to end of rnd (48 sts)
Rnd 4: *(2 Hdc into next st, hdc into next 7 sts), rep from * to end of rnd (54 sts)
Rnd 5: Hdc into each st around.
Rnd 6: *(2 Hdc into next st, hdc into next 8 sts), rep from * to end of rnd (60 sts)
Rnd 7: *(2 Hdc into next st, hdc into next 9 sts), rep from * to end of rnd (66 sts)
Rnd 8: *(2 Hdc into next st, hdc into next 10 sts), rep from * to end of rnd (72 sts)
Rnd 9: *(2 Hdc into next st, hdc into next 23 sts), rep from * to end of rnd (75 sts)
Rnds 10-12: Hdc into each st around.
Rnd 13: *(Hdc2tog, hdc into next 23 sts), rep from * to end of rnd (72 sts)
Rnd 14: *(Hdc2tog, hdc into next 10 sts), rep from * to end of rnd (66 sts)
Rnd 15: *(Hdc2tog, hdc into next 9 sts), rep from * to end of rnd (60 sts)
Rnd 16: *(Hdc2tog, hdc into next 8 sts), rep from * to end of rnd (54 sts)
Rnd 17: Hdc into each st.
Rnd 18: Working into back loops only (BLO) of each st, *(sc2tog, sc into next 7 sts), rep from * to end of rnd (48 sts)
Rnd 19: *(Sc2tog, sc into next 6 sts), rep from * to end of rnd (42 sts)
Rnd 20: *(Sc2tog, sc into next 5 sts), rep from * to end of rnd (36 sts)
Rnd 21: *(Sc2tog, sc into next 4 sts), rep from * to end of rnd (30 sts)
Rnd 22: *(Sc2tog, sc into next 3 sts), rep from * to end of rnd (24 sts)
Rnd 23: *(Sc2tog, sc into next 2 sts), rep from * to end of rnd (18 sts)
Rnd 24: *(Sc2tog, sc into next st), rep from * to end of rnd (12 sts)
Rnd 25: Sc2tog around (6 sts)
Fasten off, leaving a long tail. Thread a yarn needle with the yarn tail. Weave through the last round of stitches and pull to close the hole. Weave end into the inside.

Stuff the Mushroom Stem and Cap, and position Mushroom Cap on top. Stitch together, lining up each stitch, stuffing more as you go. Set aside.


Porch
With yarn B and E hook, ch 12. 
Row 1: Hdc into 3rd ch and next 9 sts (10 sts)
Rows 2-5: Ch 2, turn, hdc into each st across (10 sts)
Row 6: Ch 3, turn, working into BLO, hdc into 3rd ch and next 10 sts (11 sts)
Row 7: Ch 2, turn, hdc into each st (11 sts)
Row 8: Ch 3, turn, hdc into 3rd ch and next 2 sts (3 sts)
Row 9: Ch 2, turn, hdc into 3 sts (3 sts)
Row 10: Ch 2, turn, hdc into next 3 sts, ch 10 (3 sts)
Row 11: Ch 2, turn, hdc into 3rd ch from the hook, next 9 ch, and next 2 sts (12 sts)
Row 12: Ch 2, turn, hdc2tog, hdc into next 9 sts (11 sts)
Row 13: Ch 2, turn, hdc into front loops only (FLO) of next 10 sts (10 sts)
Rows 14-17: Ch 2, turn, hdc into each st (10 sts)
Fasten off, leaving a long tail. 


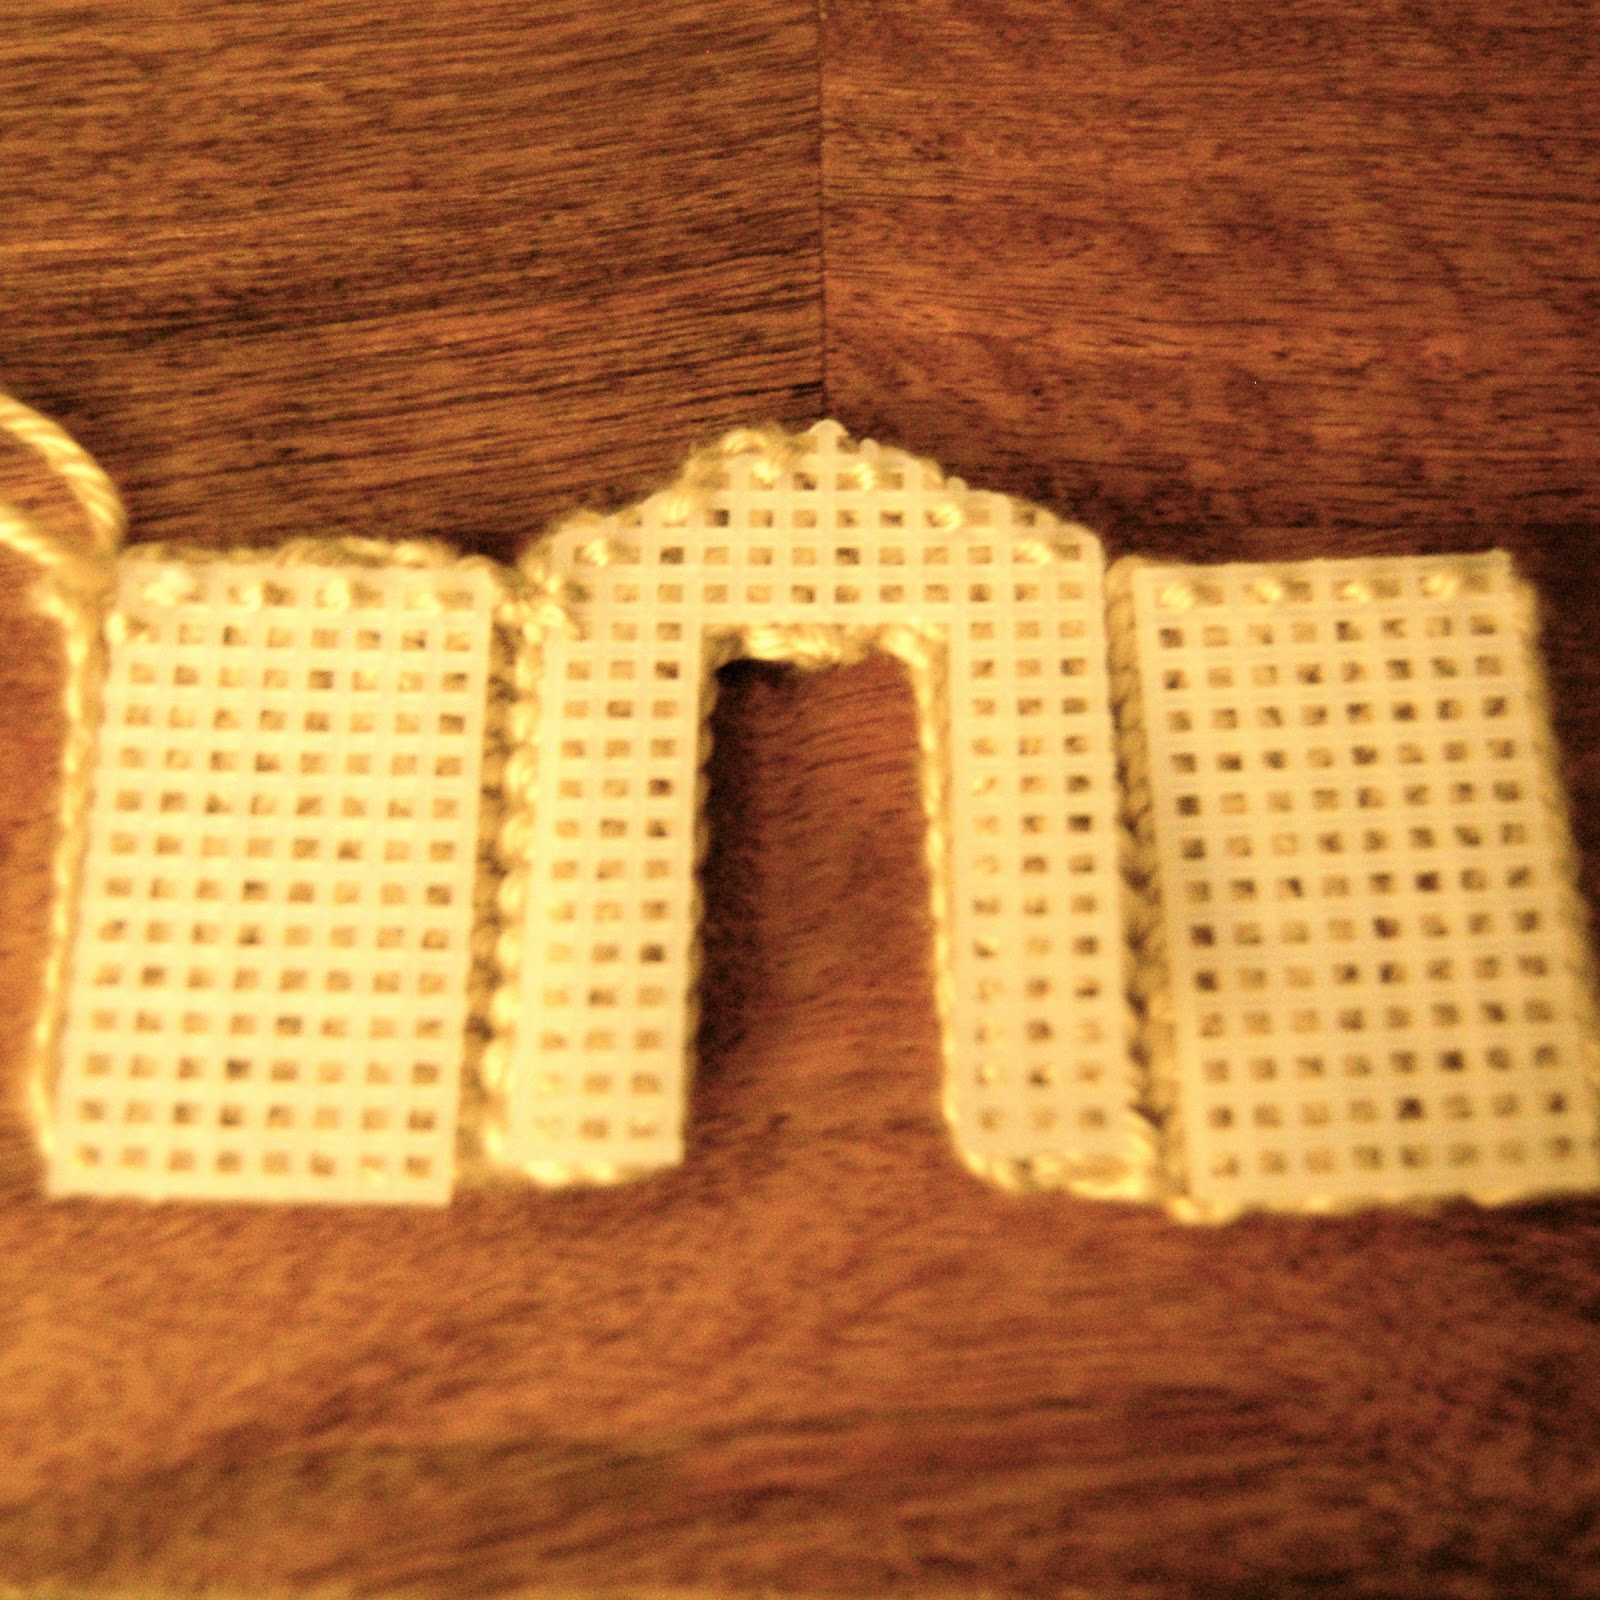
Lay the Porch piece flat over a piece of plastic canvas. Trace the shape onto the canvas. Trim the canvas, cutting into three pieces slightly smaller than the crocheted piece. Stitch the plastic canvas pieces around the edges into the Porch shape. Fold the crocheted fabric around the assembled pieces and stitch edges around to secure. Position the Porch onto the base of the Mushroom. Using matching yarn B, sew the two edges into place as shown. Weave in ends.

Porch Roof
With yarn C and an E hook, ch 8.
Row 1: Sc into 2nd ch from hook and next 6 ch (7 sts)
Rows 2-7: Ch 1, turn, sc into each st (7 sts)
Row 8: Ch 1, turn, sc into BLO of each st (7 sts)
Rows 9-15: Ch 1, turn, sc into each st (7 sts)
Fasten off and leave a long tail.
Sew the Roof to the top of the Porch along each side and across the front, and sew the back to the house. Weave in ends.

Door
With yarn C and an E hook, ch 7.
Row 1: Hdc into 3rd ch from hook and next 4 sts (5 sts)
Rows 2-4: Ch 2, turn, hdc into each st.
Row 5: Ch 1, turn, sc into first st, hdc into next st, (hdc, 2 dc, hdc) into next st, hdc into next st, sc into last st (7 sts)
Row 6: Ch 1, turn, sc evenly all the way around edge.
Fasten off and leave a long tail.

Sew a small brown button to the front of the Door. Lay the Door on a piece of plastic canvas and trace the shape of the Door. Trim the canvas smaller than the Door. Use the yarn tail to sew the Door to the plastic canvas. Thread a yarn needle with yarn B (light brown) and stitch several long stitches across the front of the Door. Sew one side of the door to the Porch opening. Weave in ends.

Large Windows (Make 2)
With yarn C and an E hook, make an adjustable ring, ch 1, sc 6 into ring. Pull tail gently to close ring.
Rnd 1: Work 2 sc into each st (12 sts)
Rnd 2: *(2 Sc into next st, sc into next st), rep from * to end of rnd (18 sts)
Rnd 3: *(2 Sc into next st, sc into next 2 sts), rep from * to end of rnd (24 sts)
Fasten off and leave a long tail for sewing.
Position into place on the House and use the yarn tail to sew to the house. 
Cut a small circle from blue felt. Cut circle into four pieces and glue to the Window.

Small Window (Make 1)
With yarn C and an E hook, make an adjustable ring, ch 1, sc 6 into ring. Pull tail gently to close ring.
Rnd 1: Work 2 sc into each st (12 sts)
Rnd 2: *(2 Sc into next st, sc into next st), rep from * to end of rnd (18 sts)
Fasten off and leave a long tail for sewing.
Position into place on the House and use the yarn tail to sew to the house.
Cut a small circle from blue felt. Cut circle into four pieces and glue to the Window.

Grass
With yarn D and an H hook, make an adjustable ring, ch 1, sc 6 into ring. Pull tail gently to close.
Rnd 1: Work 2 sc into each st (12 sts)
Rnd 2: *(2 Sc into next st, sc into next st), rep from * to end of rnd (18 sts)
Rnd 3: *(2 Sc into next 3 sts, sc into next 6 sts), rep from * to end of rnd (24 sts)
Rnd 4: *(2 Sc into next st, sc into next 3 sts), rep from * to end of rnd (30 sts)
Rnd 5: *(2 Sc into next st, sc into next 4 sts), rep from * to end of rnd (36 sts)
Rnd 6: Sc into next 5 st, 2 sc into next 3 sts, sc into next 15 sts, 2 sc into next 3 sts, sc into next 10 sts (42 sts)
Rnd 7: *(2 Sc into next st, sc into next 6 sts), rep from * to end of rnd (48 sts)
Rnd 8: *(2 Sc into next st, sc into next 7 sts), rep from * to end of rnd (54 sts)
Rnd 9: *(2 Sc into next st, sc into next 8 sts), rep from * to end of rnd (60 sts)
Rnd 10: *(2 Sc into next st, sc into next 9 sts), rep from * to end of rnd (66 sts)
Rnd 11: *(2 Sc into next st, sc into next 10 sts), rep from * to end of rnd (72 sts)
Rnd 12: *(2 Sc into next st, sc into next 11 sts), rep from * to end of rnd (78 sts)
Rnd 13: *(2 Sc into next st, sc into next 12 sts), rep from * to end of rnd (84 sts)
Fasten off and weave in ends.

Assembly
Using a dark green strand of yarn, sew House to Grass. At several spots around the House, weave a strand up the side of the house, securing with small diagonal stitches to look like leaves on a vine. Stitch all the way around the House and Porch, avoiding the Door opening.


Cut several ovals from white felt and glue to the top of the House. 

Remove any wire or clip from the bottom of the butterfly, if necessary. Glue the butterfly to the top of the House with strong craft glue.


Abbreviations
Ch: Chain
Sc: Single Crochet
Hdc: Half Double Crochet
Dc: Double Crochet
St: Stitch
Rnd: Round
Rep: Repeat
Sc2tog: Single Crochet 2 stitches Together
Hdc2tog: Half Double Crochet 2 stitches Together

Techniques

Adjustable ring: Make a ring with yarn. Insert hook into ring, yarn over and draw up a loop. Ch 1, as directed in pattern. Work the stitches required in pattern into the ring. When complete gently, but firmly, pull tail to close up the ring.

Related Posts Plugin for WordPress, Blogger...