Showing posts with label Star Wars. Show all posts

Friday, December 22, 2017

Amigurumi Star Wars Porg! Free Pattern

Free Amigurumi Star Wars Porg
The breakout star from the new Star Wars movie, The Last Jedi, for me anyway, was the Porg. Everyone saw them in the previews and was like "awww! Porgs!" But when Chewbacca was sitting there roasting a Porg over an open fire and that little Porg stood there pleading with him not to take a bite, how could you not fall in love with them?! So cute.

There are lots of super cute Porg patterns with lots of realistic detail and you should definitely buy those patterns because they're amazing. If you want a quick Porg fix and you're kind of a new crocheter, I've written an easy tutorial that's based on my popular "Baby Monsters Amigurumi". Add some color changes, duck feet, and wings, and you've got yourself a Porg.

Star Wars Porg Baby Monster Pattern

Materials:
Worsted weight yarn: Taupe (A), Gold (B), White (C)
*I used Lion Brand Vanna's Choice
Black embroidery floss
Black 15mm safety eyes (you can use 12mm if you can't find 15mm)

Tools:
E/3.5mm crochet hook
Yarn needle
Embroidery needle

Head/Body: 
R1: Starting at the top of the Porg’s head, with worsted weight yarn A (taupe) and an E hook, make an adjustable ring, chain (ch) 1, and single crochet (sc) 6 stitches into the ring. Pull the ring closed with the loose yarn tail.
R2: 2sc into each st (12)
R3: (2sc into next st, sc into next st)* rep around (18)
R4: 2 Sc in next st, sc in next 2 sts, change to gold yarn B, (2 Sc in next st, sc in next 2 sts) four times for a total of 16 gold sts, change to taupe yarn A, 2 sc in next st, sc in next 2 (24 sts)
R5: Sc in next 4, change to yarn B, sc in next 6, change to white yarn C, sc in next 4, change to yarn B, sc in next 6, change to yarn A, sc in next 4 (24 sts)
R6: Sc in next 4, change to yarn B, sc in next 5, change to yarn C, sc in next 6, change to yarn B, sc in next 5, change to yarn A, sc in next 4 (24 sts)
R7: Sc in next 5, with B sc in next 4, with C sc in next 6, with B sc in next 4, with A sc in next 5 (24 sts)
(Cut yarn B--you're done with it!)
R8-13: Sc in next 8, with white C sc in next 8, with A sc in next 8 (24 sts)
Fasten off. Set aside.

Feet:
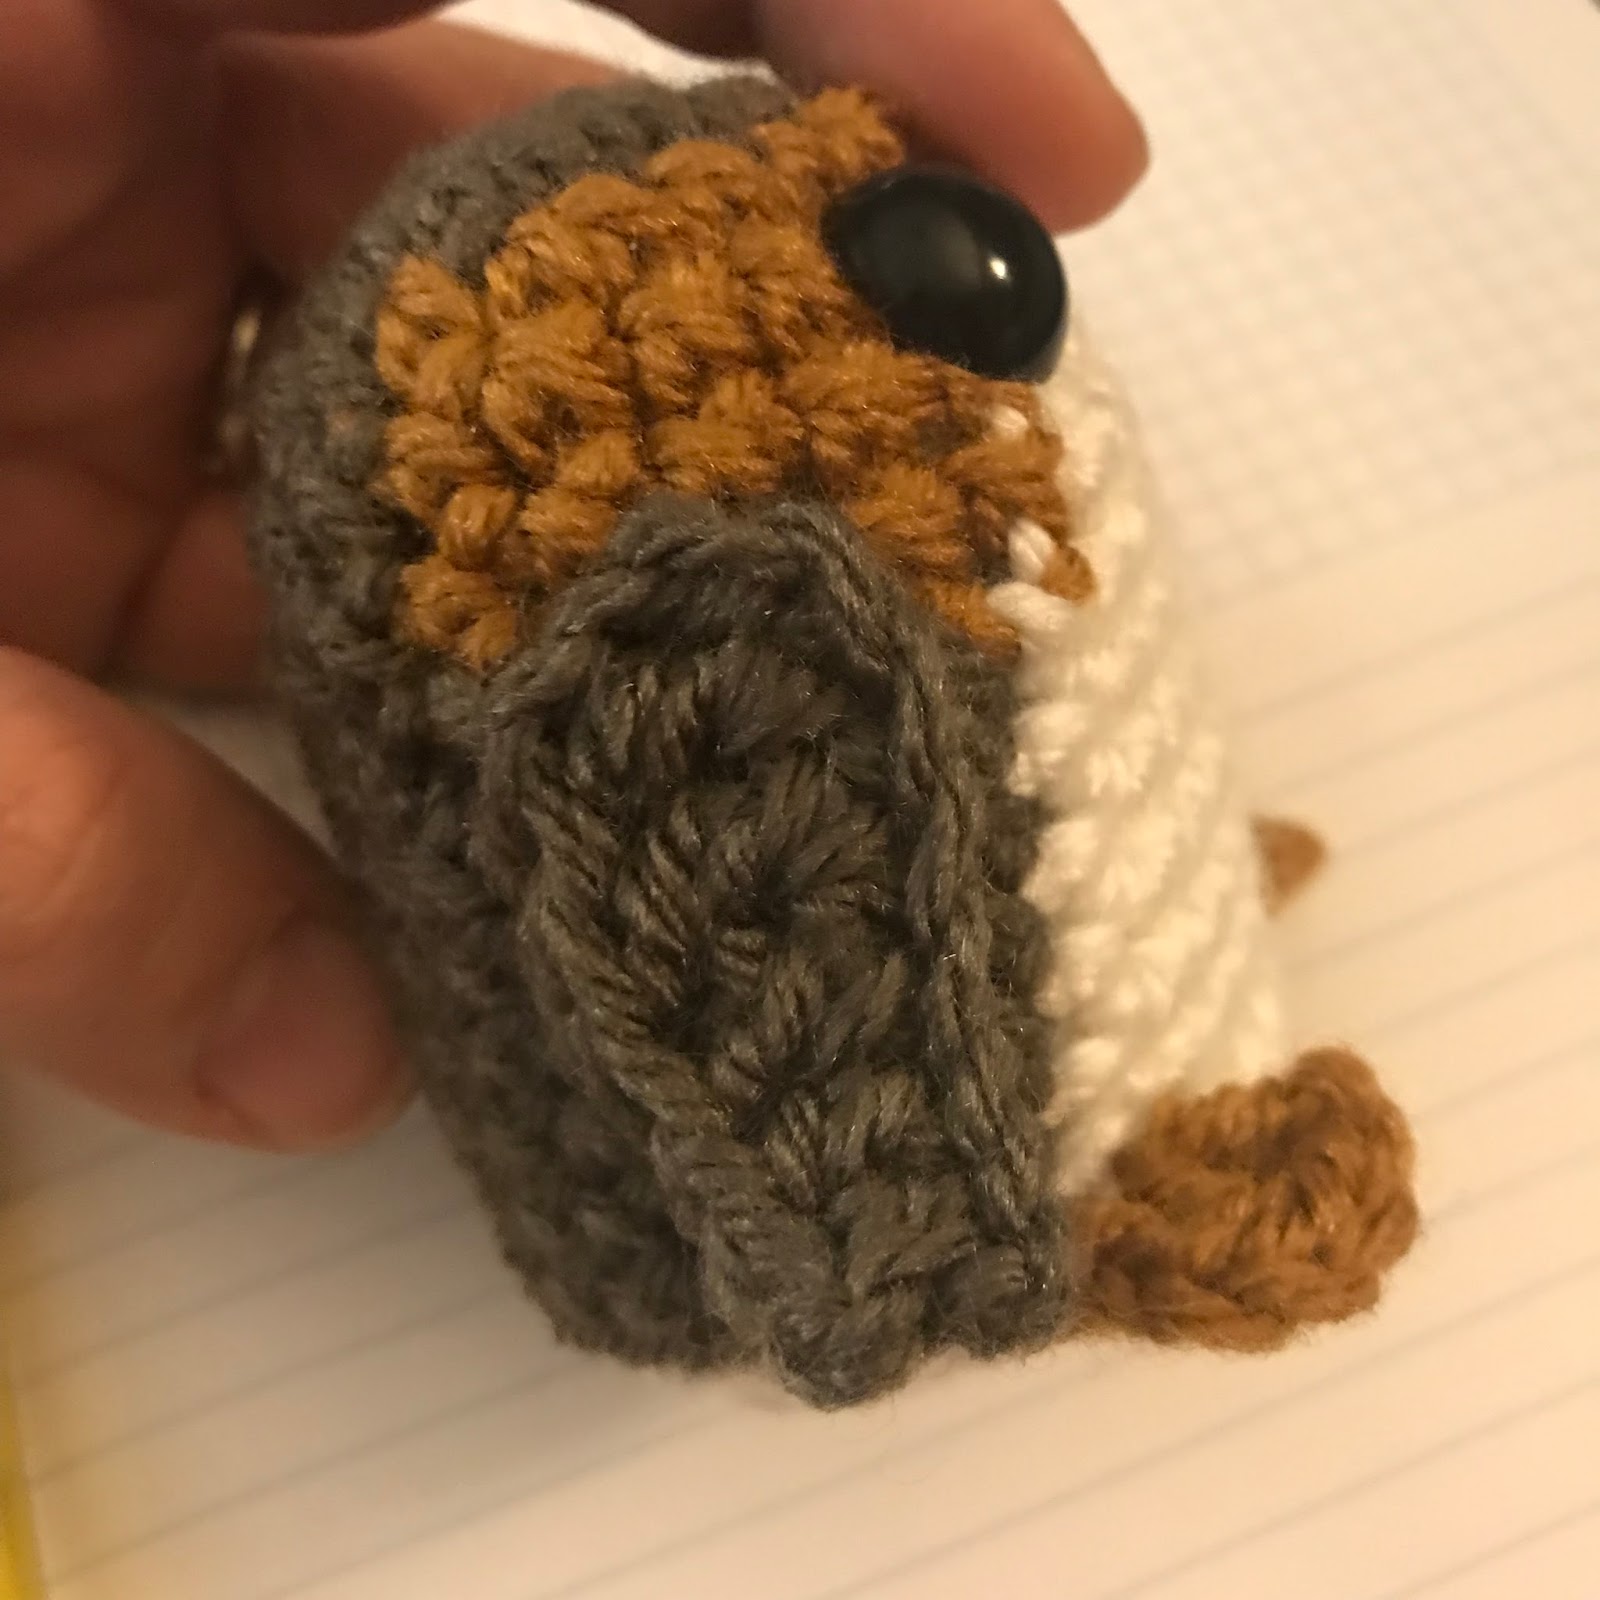
Join yarn B at front loop of first st of white on bottom rnd of Body (see photo) with a sl st, ch 3, 2 dc in front loop. Fasten off. Weave in ends.
Repeat for second foot by joining at last st of white on last round of body.

Base:
R1: With white yarn C, make an adjustable ring, chain (ch) 1, and single crochet (sc) 6 stitches into the ring. Pull the ring closed.
R2: 2 sc into each st (12)
R3: (2 sc into next st, sc into next st)* rep to end of rnd (18)
R4: (sc into next st, 2sc into next st, sc into next st)* rep to end of rnd (24)
Fasten off.

Insert eyes into Head between R5 and R6, 4 sts apart. Insert stuffing into Body and sew Base to Head/Body.

Wings (Make 2):
With yarn A, ch 10. Trc in 5th ch from hook and next ch, dc in next ch, hdc in next ch, sc in next 2 ch. Fasten off and weave in one yarn tail. Weave in second yarn tail and use it to sew wing to body as shown.


Use a scrap of yarn B and a yarn needle to make eyelids. Stitch two diagonal stitches across tops of eyes as shown. Weave in ends.

Use an embroidery needle and black embroidery floss to stitch two tiny nostrils and an upside down V shape for the mouth.

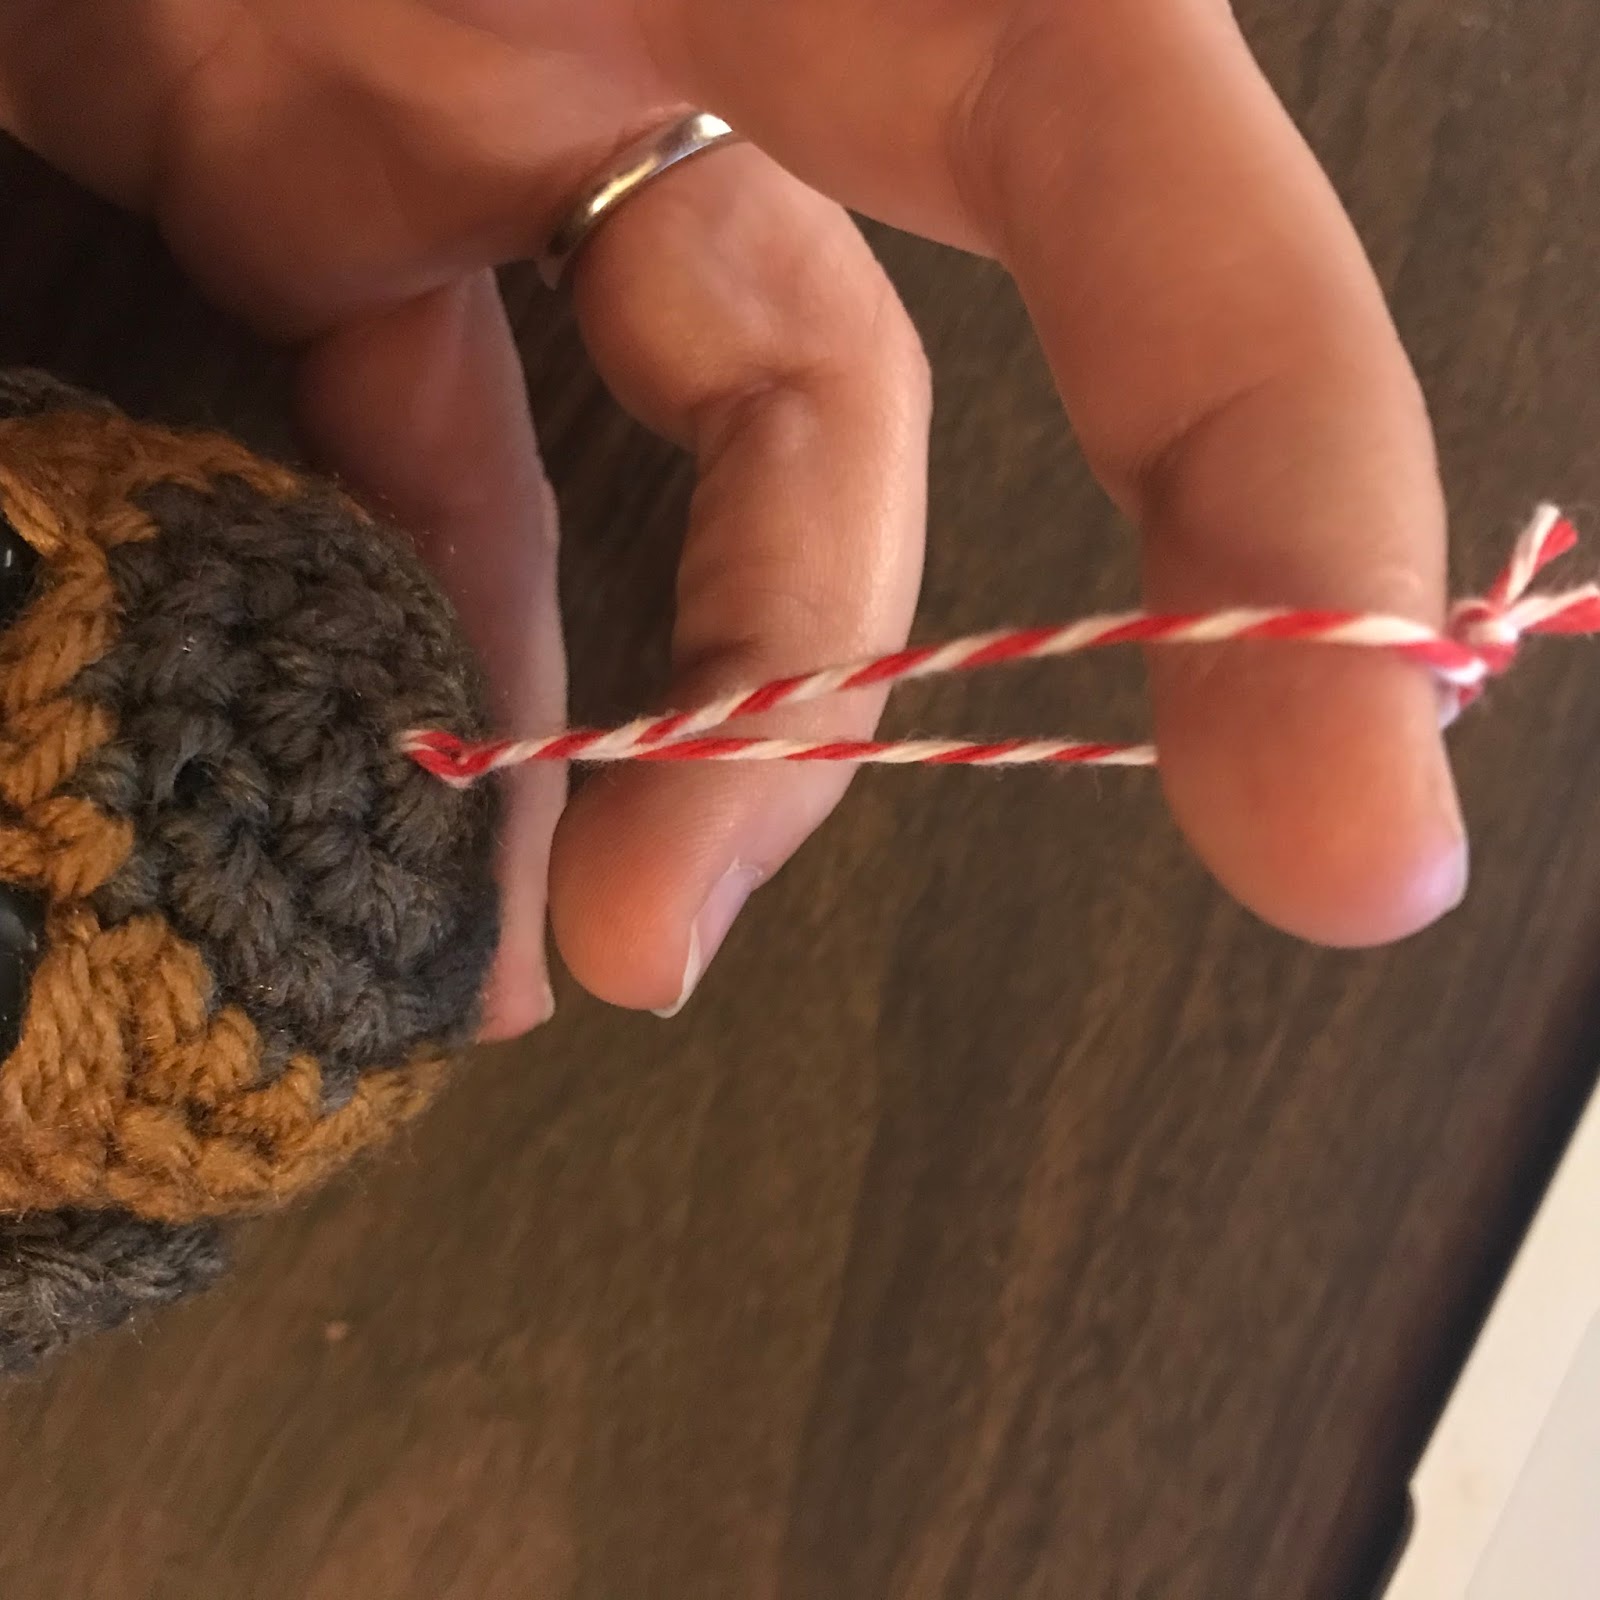
For a Christmas tree ornament, cut a string (I used baker's twine) 6" long, knot ends, insert hook into top of Head, pull up a loop and pull ends through loop.

Merry Christmas and enjoy your Porgs!
Amigurumi Porg
*There are a few links in this article that will give me a little kickback if you order something! Thanks for playing.

Thursday, December 31, 2015

Happy New Year with BB-8! FREE pattern

*** The pattern for Rey is now available! She comes with a PDF for BB-8 too! Available in my Etsy shop and on Ravelry!


I'll tell you a secret. Until I had a nephew, I had never seen Star Wars. I knew the major characters, but nothing about the plot and never had an urge to watch. I grew up in a family of girls, so maybe that's why? I was more interested in Cabbage Patch Kids than Ewoks. I started watching the movies and now with three boys of my own, I've seen them all many many times. It was exciting to see the prequels in the theater, but nothing earth-shattering. I guess the letdown lots of people felt with those movies made the anticipation for the newest movie, "The Force Awakens", even greater. We knew the characters months before the movie was released, and BB-8 was super cute in the trailer. It was pretty much a no-brainer that I'd crochet him. 

To celebrate the dawning of a new year (welcome, 2016!), I've written a pattern for BB-8! He is now FREE for good! I had a lot of requests as soon as I took the pattern down and I had planned on putting it in my Etsy and Ravelry shops, but hey everyone likes free stuff, right?


BB-8


Materials:
White worsted weight yarn (A)
Gray worsted weight yarn (B)
Orange worsted weight yarn (C)
12 mm black safety eye
5 mm black safety eye
Gray felt
Black thread
Red, Blue, Gray embroidery floss
White round elastic cord
20mm doll joint
Craft glue

Tools/Notions:
E Hook 
Yarn needle
Embroidery needle
Black permanent marker

Key:
ch: Chain
sc: single crochet
st: stitch
invdec: single crochet 2 st together

Body:
Rnd 1: Starting at the top of the Body, with yarn A and E hook, make an adjustable ring, ch 1, sc 6 into ring. Pull tail to close hole, but leave a tiny hole. (You will insert the doll joint here and need a little opening to make it fit easily) (6 sts)
Rnd 2: 2 Sc in each st (12 sts)
Rnd 3: *(2 Sc in next st, sc in next st), rep from * to end of rnd (18 sts)
Rnd 4: *(2 Sc in next st, sc in next 2 sts), rep from * to end of rnd (24 sts)
Rnd 5: *(2 Sc in next st, sc in next 3 sts), rep from * to end of rnd (30 sts)
Rnds 6-11: Sc in each st around.
Rnd 12: *(Invdec, sc in next 3 sts), rep from * to end of rnd (24 sts)
Rnd 13: *(Invdec, sc in next 2 sts), rep from * to end of rnd (18 sts)
Insert a stitch marker to hold your place. From the inside of the Body, insert the post of the doll joint through the beginning hole in Rnd 1. Stuff Body firmly. Continue adding stuffing as necessary as you work the final rounds.

Rnd 14: *(Invdec, sc in next st), rep from * to end of rnd (12 sts)
Rnd 15: Invdec around (6 sts)
Fasten off and leave a long tail. Weave tail through the final round and pull to close the hole. Weave in ends.

Top of Head: 
Rnd 1: With yarn A (white) and E hook, make an adjustable ring, ch 1, sc 6 into ring (6 sts)
Change to yarn B (gray) at last st of Rnd 1.
Rnd 2: 2 Sc in each st (12 sts)
Change to yarn A (white) at last st of Rnd 2.
Rnd 3: *(2 Sc in next st, sc in next st), rep from * to end of rnd (18 sts)
Rnd 4: 2 Sc in first st, sc in each st around (19 sts)
Rnd 5: Sc in next 12 sts, 2 sc in next st, sc in next 6 sts (20 sts)
Rnd 6: Sc in next 10 sts, 2 sc in next st, sc in next 9 sts (21 sts)
Rnd 7: Sc in each st.
Change to yarn B (gray) at last st of Rnd 7.
Rnd 8: Work a sl st into each st around. Keep the stitches relatively loose so they won't pull the last round tight. 
Fasten off and cut tail. Weave in white and gray ends. With gray felt, cut a 12 mm diameter circle. Cut a tiny slit in the center and insert the post of the 5mm eye.  Insert the 12 mm eye between Rnds 4 and 5, and insert the 5mm/gray felt circle eye 2 sts away and one round down, between Rnds 5 and 6. Set Top of Head aside.

Head Base:
Rnds 1-3: Repeat as for Top of Head, all in yarn A. Keep the beginning Rnd 1 loose to leave an opening in the center for the doll join post to fit through, as you did in the Body. Fasten off. Leave a long tail for sewing.

Construction:

Align Head Base over doll joint post sticking out of Rnd 1 of the Body. Push post through the hole all the way. Place flat washer over the post, then place locking washer over the flat washer. This should lock the doll joint mechanism into place. 

Sew Top of Head to Head Base with yarn tail and a yarn needle. Stuff as you sew up the last few stitches, making sure not to overstuff. You want the Head Base to be as flat as possible. Weave in ends. Make sure not to weave any ends through Head and Body or the Head will not turn. 

Body Decoration:

Orange Rings (make 6):

With yarn C, ch 20. Fasten off and leave a long tail.

With yarn tails, stitch rings into place. Place them equidistant from each other, one on each of four sides, and one on "top" and “bottom". I like to pin them all in place first (see above) so I can see where I arranged them (slightly askew as you can see in the photo), but placement is up to you. As in the construction, make sure you don't weave tail through to the Head or it won't turn fully. With yarn C and a yarn needle, stitch short stitches from the outside toward the center of the circle. (see below)

With gray felt, cut shapes to put into the centers of the Orange Rings. I cut them rather randomly (see below), but you can look at BB-8 photos if you want them exactly like him! For one of the rings, cut a gray circle, and cut it across in three segments. Glue gray pieces into place with craft glue (or super glue if you're careful!), or stitch with matching thread.

For the gray sliced circle panel, stitch a red French knot and a blue French knot with embroidery thread on the lower section of the circle. Refer to photo below. 

Thread an embroidery needle with one strand of black thread. Stitch long straight stitches between Orange Rings. Refer to photo above.

Also with one strand of black thread, stitch an outline around BB-8's eyes as shown. Short stitches around the top will "curve" better than longer stitches. Stitch long straight stitches around the head from top to bottom as shown.

Thread a yarn needle with orange yarn C. Stitch short straight stitches around the base of BB8's head.   Stitch a continuous ring around the top of BB-8's head one round below the gray round. Weave in ends.


With gray embroidery floss or thin yarn, embroider French knots on the Body next to each black line separating the panels, to resemble tiny screws. Weave in ends.

Antennae:
Thread a yarn needle with elastic cord. Knot one end. Insert yarn needle into Head and pull up at the spot you want the first antenna. Cut the cord. Apply a tiny bit of craft or super glue to base and tip so it won't fray or pull through. For second antenna, knot a strand of cord and color with black marker near the knot. Pull through Head and up through the top and cut, making it a little longer. Color the tip black. Apply a little craft or super glue to base and tip to hold into place and prevent fraying.


Your little BB-8 astromech droid is done! I think this project would be fun if you made him even smaller out of thread or sock-weight yarn, or even bigger with chunky yarn! The pattern will remain the same, but only the hook size needs to be changed. 

Please let me know if you have any questions about this pattern, or if you need any help.  The toys you make from this pattern may be resold as long as credit is given as “Pattern by Allison Hoffman, craftyiscool.com”.  Thanks!

Yarns Used in this Project:
A: Hobby Lobby’s I Love This Yarn — White
B: Hobby Lobby’s I Love This Yarn — Gray
C: Hobby Lobby’s Crafter’s Secret — Orange 

*If you would like to sell the items you make from this pattern or any of my patterns, please feel free, but on your listings make sure to include "Pattern by Allison Hoffman/craftyiscool.com"  Thanks!


Watch for BB-8's friend Rey coming soon in my Etsy shop and Ravelry store!


Tuesday, March 27, 2012

My Latest Projects

Since my last post I've been pretty productive, so I wanted to show you some things I've been working on!
This is a photo-intense post, so get ready...

I made this doll of a birthday girl and her pet cat, including a little kitty hat her mom had made her! She had a little removable tie-front cardigan with tiny flowers on one lapel. Word is, she loved it!


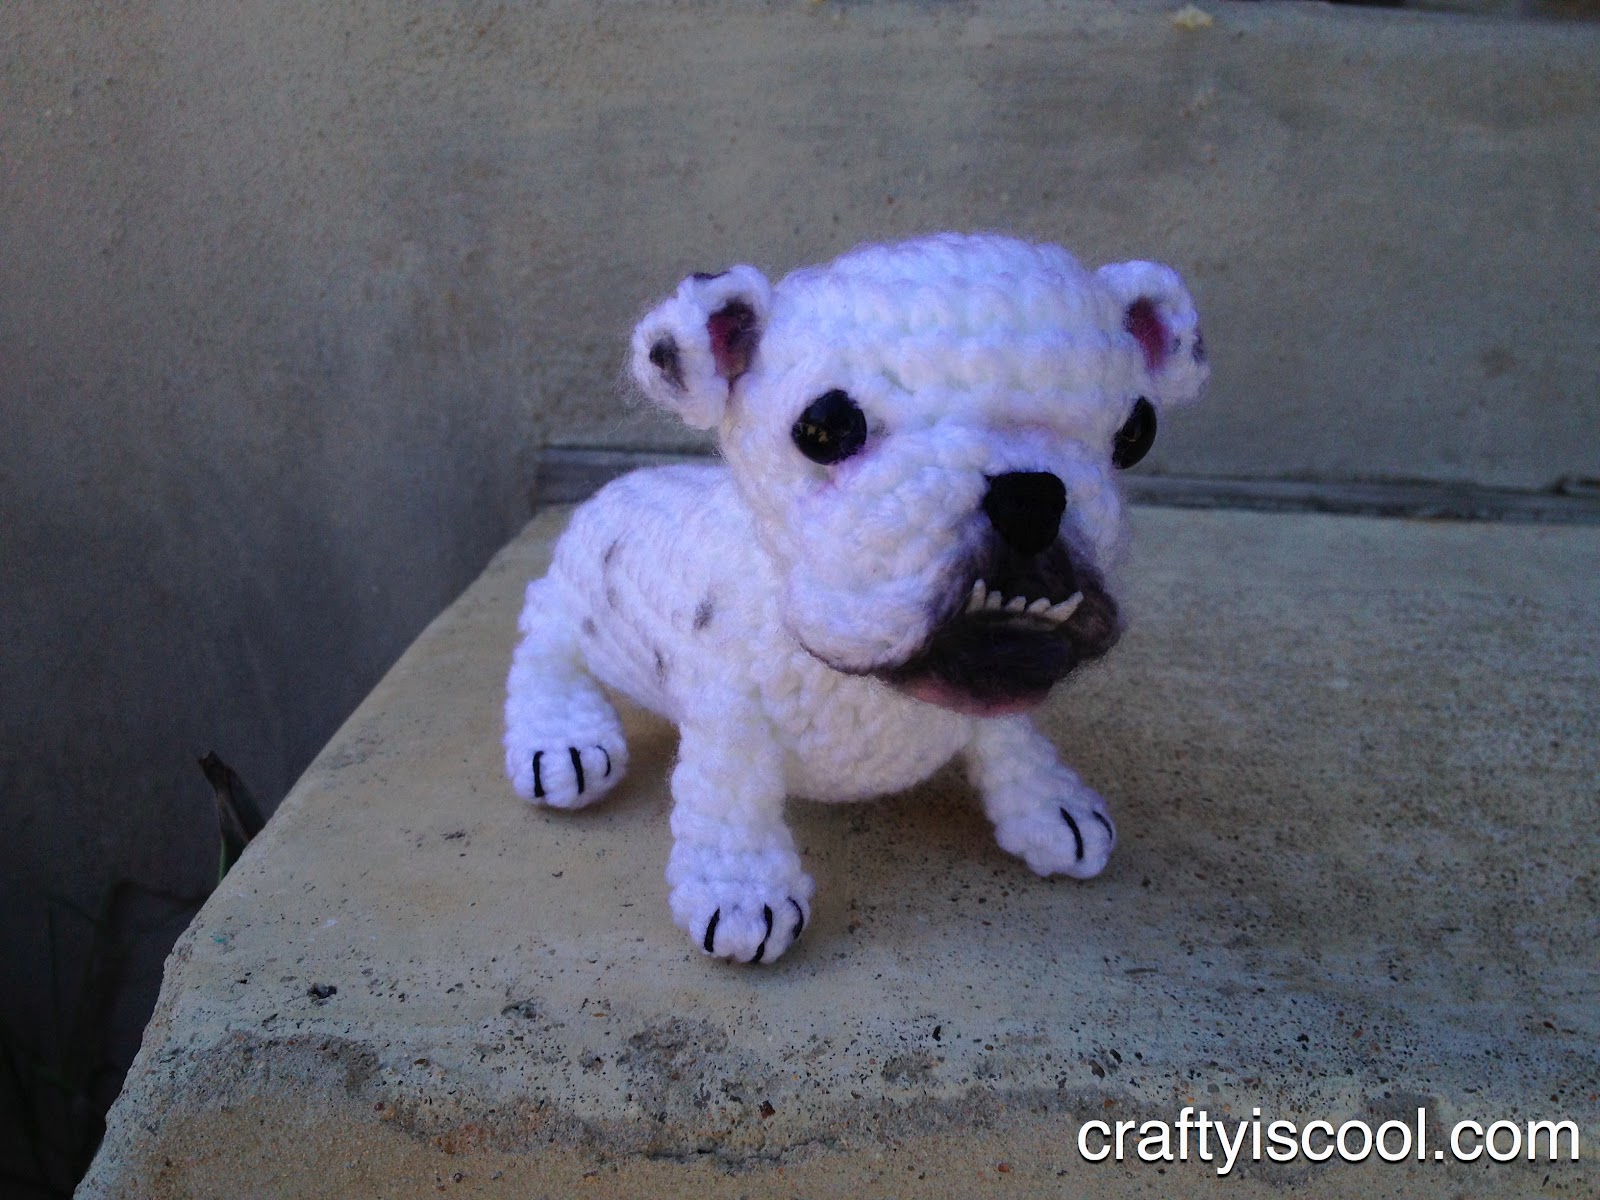
I got an order for two pets for someone's birthday. The first was a bulldog, who is ADORABLE, and the second I haven't finished yet, a Boston Terrier. I got to deliver this one in person, a rare treat, and she loved him.


Next up, a doll I made for a well-known bartender that works at the hottest bar/live music venue here in Austin, the Mohawk. He's got a famous beard and is into Jiu-Jitsu. I made one doll for the Mohawk, and two dolls in Jiu-Jitsu outfits for his twin daughters. I sewed his little Western shirt out of an old one I had. His t-shirt has a Mohawk logo iron-on. Nice beard, right??


Someone you might recognize, Questlove, or DJ Questo, of The Roots, also known as Jimmy Fallon's house band. I loved making him. I made him a little hair pick out of glittery black Sculpey clay, drumsticks that I carved from a long wooden dowel, and little red hoodie. I was able to go to The Roots' show at the Mohawk during SXSW and hand-deliver the doll to Questlove himself! He loved him and told me it was the most beautiful thing anyone had ever given him! I was thrilled. 


Last up is a project I actually did almost a year ago, but just got this picture! My husband wrote to the people at Rancho Obi-wan, Steve Sansweet's mecca of Star Wars collectibles. He has the largest Star Wars collection in the world and has worked for Lucasfilm and written several books about Star Wars. He was kind enough to pose with my Salacious Crumb, which I sold in the Stitch Wars Strikes Back show last summer. Awesome, right?


I'll post some more finished projects soon. I'm working on a really large order this week and then continuing work on my book. This summer I should be more able to take custom orders, my FAVORITE thing to do! Thanks for reading!

Related Posts Plugin for WordPress, Blogger...