Showing posts with label crochet. Show all posts

Thursday, October 8, 2020

Waiter, there's a FLY on my head

 The hottest 2020 accessory is the fly. Perched on your head, it will distract most everyone from listening to what you're actually saying, which could probably be to your benefit in some cases.

You'll need:

Black worsted weight yarn

2 red beads

Plastic canvas

Small hair clip

Hot glue

Size D crochet hook (or whatever hook floats your boat)

HEAD/BODY

Rnd 1: Make an adjustable ring, ch 1, and sc 6 in the ring. Pull tail to close ring (6 sts)

Rnd 2: *2 Sc in next st, sc in next st, rep from * around (9 sts)

Rnd 3: *2 Sc in next st, sc in next 2 sts, rep from * around (12 sts)

Rnd 4: Sc in each st.

Rnd 5: *Sc2tog, sc in next 2 sts, rep from * around (9 sts)

Rnd 6: *Sc2tog, sc in next st, rep from * around (6 sts)

Fasten off and leave a long tail. No need to stuff. Thread the tail onto a tapestry needle and feed through to the beginning of the Body and out. Use to attach a red bead to either side of Head. Weave in ends. 

WINGS

With a black permanent marker, draw Wing shapes (teardrops) on plastic canvas. Cut out and glue to the back of the Fly.

ASSEMBLY

Using hot glue or your favorite craft glue, attach the Fly to the hair clip. Allow to cool/dry fully before placing the Fly atop your head. Now talk about something and see if anyone listens.

*This post is not meant to be political, like at all. Its all in good fun and who wouldn't want a little cute fly on your head anyway?


Sunday, July 2, 2017

Okja the Super Pig amigurumi


Netflix has been putting out some awesome stuff for a while now. Kimmy Schmidt is one of my favorite shows, and there's Orange is the New Black, GLOW, Wet Hot American Summer: First Day of Camp, House of Cards, and of course Stranger Things! They're also making movies, and the new film Okja is sorta strange, heartwarming, sad, funny, and completely unique. There are big stars on screen and behind the scenes. It's like Free Willy for grownups. The super pig star of the show is a creature named Okja. Okja is a lovable giant pig/hippo/rhino looking animal, and I made him out of yarn. If you want to, here's a pattern!

OKJA
Materials:
  Bulky weight gray yarn (Lion Brand "Hometown USA" -- Dallas Gray)
  Polyester fiberfill
  Black embroidery floss
  8mm brown safety eyes
Tools:
  Size J (6.0mm) crochet hook
  Yarn needle
  Embroidery needle
  Quilting pins
  Super glue

*Okja as written measures 10" long. If you would like a smaller doll you can substitute worsted weight yarn and an E hook. Smaller eyes will also be needed.

Pattern:

Body/Head:
Rnd 1: Starting at the back end, make an adjustable ring, ch 1, sc 6 into ring. Pull tail to close hole.  (6 sts)
Rnd 2: 2 Sc in each st (12 sts)
Rnd 3: *(2 sc in first st, sc in next st), repeat from * to end of rnd (18 sts)
Rnd 4: *(2 sc in first st, sc in next 2 sts), repeat from * to end of rnd (24 sts)
Rnd 5: *(2 sc in first st, sc in next 2 sts), repeat from * to end of rnd (30 sts)
Rnd 6: *(2 sc in first st, sc in next 3 sts), repeat from * to end of rnd (36 sts)
Rnds 7-10: Sc into each st.
Rnd 11: *(2 sc in first st, sc in next 11 sts), repeat from * to end of rnd (39 sts)
Rnds 12-15: Sc into each st.
Rnd 16: *(Sc2tog, sc in next 11 sts), repeat from * to end of rnd (36 sts)
Rnds 17-18: Sc into each st.
Rnd 19: *(Sc2tog, sc in next 4 sts), repeat from * to end of rnd (30 sts)
Rnd 20: *(Sc2tog, sc in next 3 sts), repeat from * to end of rnd (24 sts)
Rnd 21: *(Sc2tog, sc in next 10 sts), repeat from * to end of rnd (22 sts)
Rnd 22: Sc in next 9 sts, sc2tog twice, sc in next 9 sts (20 sts)
Rnd 23: Sc in 8 sts, sc2tog twice, sc in next 8 sts (18 sts)
Rnds 24-26: Sc in each st.
Rnd 27: *(2 sc in next st, sc in next 8 sts), repeat from * to end of rnd (20 sts)
Rnd 28: Sc in each st.
*Insert a stitch marker to hold your place. Stuff the Body firmly. 
Rnd 29: Sc2tog around (10 sts)
Rnd 30: Sc2tog around (5 sts)
Fasten off and leave a long tail. Use a yarn needle to sew end closed. Weave in ends.


Muzzle:
Rnd 1: Ch 4. Sc in 2nd ch from hook and next ch, 5 sc in last ch, working around to other side, sc in next 2 chs, 5 sc in last ch (14 sts)
Rnds 2-3: Sc in each st around.
Fasten off and leave a long tail for sewing.
Pin Muzzle to Head of Okja. Stitch into place with a yarn needle, adding stuffing. Weave in ends.


Ears (Make 2):
Ch 7. Sl st in first st, sc in next 2, hdc in next 2, dc in last ch (6 sts)
Fasten off and leave a long tail. Sew to each side of head.


Front Legs (Make 2):
Rnd 1: Make an adjustable ring, ch 1, work 3 sc and 4 dc into ring. Pull tail to close ring (7 sts)
Rnd 2: Working into back loops only (BLO) of each st, sc in each st.
Rnds 3-5: Sc into each st.
Rnd 6: 2 sc in first st, sc in next 3 sts, 2 sc in next st, sc in next 2 sts (9 sts)
Rnd 7: 2 sc in first st, sc in each st around (10 sts)
Fasten off and leave a long tail. Stuff and sew to bottom of Okja as shown.

Back Legs (Make 2):
Rnd 1: Make an adjustable ring, ch 1, work 4 sc and 4 dc into ring. Pull tail to close ring (8 sts)
Rnd 2: Working into BLO of each st, sc in each st.
Rnd 3: 2 sc in first st, sc in each st (9 sts)
Rnd 4: Sc in each st.
Rnd 5: Sc2tog, sc around (8 sts)
Rnd 6: 2 sc in first st, sc in each st (9 sts)
Rnd 7: *(2 sc in first st, sc in next 2 sts), repeat from * to end of rnd (12 sts)
Fasten off and leave a long tail. Stuff and sew to bottom of Okja as shown.


Tail:
Ch 5. Sl st in 2nd ch from hook, sc in next st, hdc in next 2 (4 sts)
Fasten off and leave a long tail. Sew to the back of Okja.


Finishing:
Apply a dab of superglue to the post of each eye and insert into the head as shown. (Using super bulky yarn, it is difficult to use the washer and assemble the eyes, so gluing the eyes into place works better.)

Thread a yarn needle with a strand of gray yarn. Come up beside each eye and stitch a small short stitch over the top of each eye for an eyelid. Weave in ends.

Thread an embroidery needle with black embroidery floss. Stitch nostrils making loop shapes and straight stitches on the muzzle. Stitch a vertical line and two short diagonal lines for the mouth. Refer to photo.


Tuesday, April 4, 2017

Easter Basket Babies -- FREE Crochet Amigurumi Pattern


When I was little there was a gift shop in my hometown that sold lots of little stuffed animals. They had some that turned inside out to turn into something else; I remember a caterpillar that turned into a butterfly, and some eggs that "hatched" into little birds. I loved those things! I made my own version, easy to crochet, that will be a perfect Easter springtime gift. 

* This pattern was originally written for Michaels.com.

Easter Basket Babies
by Allison Hoffman, craftyiscool.com

On one side, a colorful trio of eggs rest in a soft bed of Easter grass. Push the eggs through to the other side, flip it over, and three sweet Easter babies are hatched!

Materials List
Loops & Threads "Impeccable" – Aqua (A, 1 skein), Lavender (B, 1 skein), & White (C, 1 skein)
Loops & Threads "Impeccable Ombre" -- Luxury (D, 1 skein)
Loops & Threads "Charisma Baby" -- Yellow (E, 1 skein)
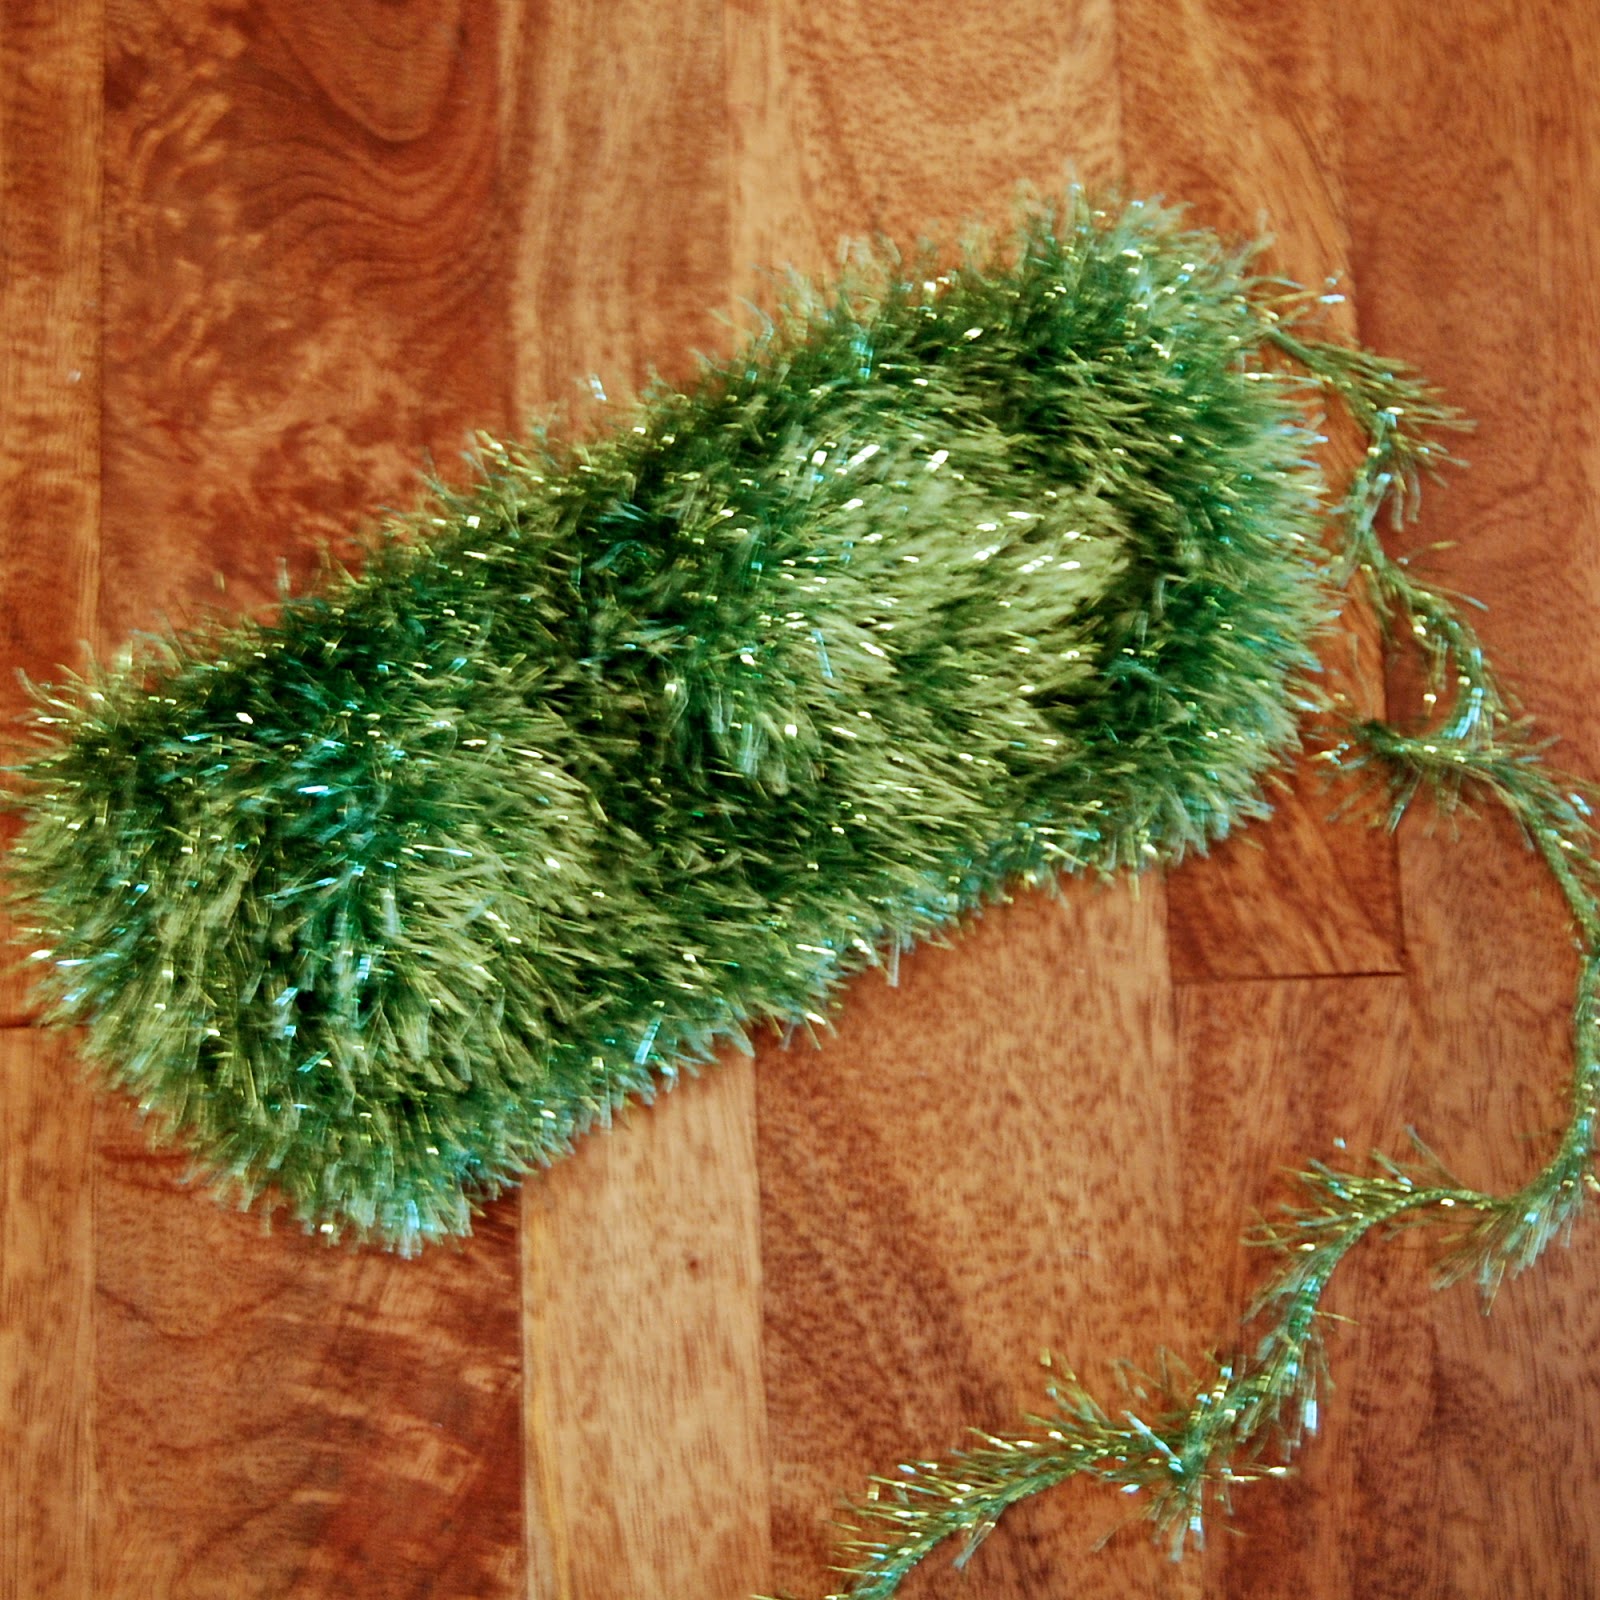
Martha Stewart Crafts "Glitter Eyelash" -- Peridot (F, 2 skeins) *I believe this is discontinued but  green fur/eyelash yarn is available from other brands
Crochet Hooks, Sizes 3.5mm (US E/4) and 4mm (US G/6)
Tapestry Needle
Black, Pink, White DMC Embroidery Floss (1 skein each)
Embroidery Needle
Blue, white, and orange felt
Craft glue
Pink blush

Notes:
The pieces are all crocheted in the round in unjoined spirals. Use a locking stitch marker if necessary to mark the beginning of each round. When you complete a round, move the marker to the loop on your hook and continue crocheting.


Egg (Make three; one each with yarns A, B, and D)
With yarn and E hook, make an adjustable ring, ch 1, sc 6 into ring. Pull tail gently to close ring.
Rnd 1: Work 2 sc into each st (12 sts)
Rnd 2: *(2 Sc into next st, sc into next 4 sts), rep from * to end of rnd (15 sts)
Rnd 3: *(2 Sc into next st, sc into next 5 sts), rep from * to end of rnd (18 sts)
Rnd 4: *(2 Sc into next st, sc into next 6 sts), rep from * to end of rnd (21 sts)
Rnd 5: *(2 Sc into next st, sc into next 7 sts), rep from * to end of rnd (24 sts)
Rnds 6-13 Sc into each st around.
Rnd 14: *(Sc2tog, sc into next 5 sts), rep from * to end of rnd (18 sts)
Rnd 15: Sc into each st around.
Fasten off, leaving a long strand of yarn for sewing. Set aside.

Chick (Make two with yarn E)
With yarn and E hook, make an adjustable ring, ch 1, sc 6 into ring. Pull tail gently to close ring.
Rnd 1: Work 2 sc into each st (12 sts)
Rnd 2: *(2 Sc into next st, sc into next st), rep from * to end of rnd (18 sts)
Rnds 3-5: Sc into each st.
Rnd 6: *(Sc2tog, sc into next 4 sts), rep from * to end of rnd (15 sts)
Rnd 7: Sc into each st.
Rnd 8: *(2 Sc into next st, sc into next 4 sts), rep from * to end of rnd (18 sts)
Rnd 9: *(2 Sc into next st, sc into next 2 sts), rep from * to end of rnd (24 sts)
Rnd 10: *(2 Sc into next st, sc into next 7 sts), rep from * to end of rnd (27 sts)
Rnds 11-12: Sc into each st.
Rnd 13: *(Sc2tog, sc into next 7 sts), rep from * to end of rnd (24 sts)
Rnd 14: Sc into each st.
Fasten off, leaving a long tail for sewing. 

Cut two tiny circles from blue felt, two slightly larger circles from white felt. Layer the blue and white circles for eyes and sew onto Chick with a tiny stitch (or French knot) of white or black embroidery floss. Glue an orange triangle onto Chick for a beak. Set Chicks aside.


Bunny Body (Make one with yarn C)
With yarn and E hook, make an adjustable ring, ch 1, and sc 6 into ring. Pull tail gently to close ring.
Rnds 1-8: Repeat pattern for Chick, ending up with 18 sts at the end of Rnd 8.
Rnd 9: *(2 Sc into next st, sc into next 5 sts), rep from * to end of rnd (21 sts)
Rnd 10: *(2 Sc into next st, sc into next 6 sts), rep from * to end of rnd (24 sts)
Rnds 11-14: Sc into each st around.
Rnd 15: *(Sc2tog, sc into next 6 sts), rep from * to end of rnd (21 sts)
Rnd 16: *(Sc2tog, sc into next 5 sts), rep from * to end of rnd (18 sts)
Fasten off and leave a long tail.
Cut two tiny circles from blue felt, two slightly larger circles from white felt. Layer the blue and white circles for eyes and sew onto Bunny with a tiny stitch (or French knot) of white embroidery floss.
Stitch an elongated X onto the Bunny's face with black embroidery floss for nose and mouth. Stitch tiny straight stitches at the edges for an upturned smile. Fill in the top of the X with satin stitch in pink embroidery floss. Set Bunny aside.

Bunny Ears (Make two with C)
With yarn and E hook, make an adjustable ring, ch 1, and sc 3 into ring. Pull tail gently to close ring.
Rnd 1: Work 2 sc into each st around (6 sts)
Rnds 2-6: Sc into each st.
Rnd 7: Sc2tog around (3 sts)
Fasten off and leave a long tail for sewing. Flatten Ears and sew to Bunny on the top of his head. Fill in inside of Bunny's Ears with pink blush.

Bunny Arms (Make two with C)
With yarn and E hook, make an adjustable ring, ch 1, and sc 6 into ring. Pull tail gently to close ring.
Rnds 1-4: Sc into each st.
Fasten off and leave a long tail for sewing. Flatten Arms and sew to the front of Bunny. Stuffing is not necessary.

Nest (Make one with F)
With yarn F and G hook, ch 48, keeping stitches loose. Join with a sl st into the first ch to form a ring.
Rnd 1: Sc into each st around (48 sts)
Rnd 2: *(2 Sc into next st, sc into next 7 sts), rep from * around (54 sts)
Rnd 3: *(2 Sc into next st, sc into next 8 sts), rep from * around (60 sts)
Rnd 4: *(2 Sc into next st, sc into next 9 sts), rep from * around (66 sts)
Rnd 5: *(2 Sc into next st, sc into next 10 sts), rep from * around (72 sts)
Rnd 6: *(2 Sc into next st, sc into next 11 sts), rep from * around (78 sts)
Rnd 7: *(2 Sc into next st, sc into next 12 sts), rep from * around (84 sts)
Rnds 8-9: Sc into each st around.
Rnd 10: *(Sc2tog, sc into next 12 sts), rep from * around (78 sts)
Rnd 11: *(Sc2tog, sc into next 11 sts), rep from * around (72 sts)
Rnd 12: *(Sc2tog, sc into next 10 sts), rep from * around (66 sts)
Rnd 13: *(Sc2tog, sc into next 9 sts), rep from * around (60 sts)
Rnd 14: *(Sc2tog, sc into next 8 sts), rep from * around (54 sts)
Rnd 15: *(Sc2tog, sc into next 7 sts), rep from * around (48 sts)
Fasten off, leaving a long tail. Flatten the tube you've just created. Thread the tail onto a yarn needle and sew the first and last rounds together. Weave in ends.

Assembly
Sew each Egg to a Chick or Bunny, lining up the bottom row of each piece, stitch to stitch. No stuffing is necessary. Weave in ends.


Line up the seam of the Egg/Bunny with the inside edge of the Nest. Using a strand of white yarn C and a yarn needle, sew along the front of the Egg/Bunny, stitching it to the edge of the nest, for 12 sts. Weave in ends. Repeat for the remaining Egg/Chicks, using yellow yarn E, evenly spaced around the inner edge of the Nest. Chicks may be facing forward with the Bunny or they can all face outward.


For a Nest full of eggs, push each Chick and the Bunny up into the Eggs, stuffing them. To "hatch", invert the Nest and pull out the Chicks and Bunny, stuffing the Egg into them.

Abbreviations
Ch: Chain
Sc: Single Crochet
St: Stitch
Rnd: Round
Rep: Repeat
Sc2tog: Single Crochet 2 stitches Together

Techniques
Adjustable ring: Make a ring with yarn. Insert hook into ring, yarn over and draw up a loop. Ch 1, as directed in pattern. Work the stitches required in pattern into the ring. When complete gently, but firmly, pull tail to close up the ring.


Wednesday, November 23, 2016

Family Portraits

Black Friday Special!


At Christmas time lots of people get a portrait done for Christmas cards or just to have for the year so it got me thinking. Of course I love making unique gifts and what better way to celebrate my little family than with crocheted versions of them? Most kids like anything with their names on them so these fit that bill.

I'm excited to be offering custom crocheted "Family Portrait Ornaments" in my Etsy shop this year! They start at $25, so they are affordable, and each one is made to order in the likeness of whomever you want! I'm working on some families with pets too, so I can't wait to show you!

If you'd like to order, head over to my Etsy shop. You can pick out how many family members, what color you want the backing heart to be, and then just wait on me. I'll write you to get the information I need to complete your order.


As of the writing of this post, I have about 12 spots left before Christmas. Of course if you want them and you're past the deadline, I will still be making them. The sooner you get your order in, the longer they can hang on your tree this year.

Below are some examples of ornaments sets I've already made!


Family Portrait Ornaments

Family Portrait Ornaments

Family Portrait Ornaments -- these are a secret! shhh

Family Portrait Ornaments

I'm going to have to find a way to keep these on display all year long. Maybe a shadow box?


Wednesday, March 2, 2016

Happy Texas Independence Day, y'all!

Free Amigurumi Texas flag pattern

Born and raised in Texas, and proud to be, I had to make something Texas related! Today is Texas Independence Day, so it seemed fitting to write up this free pattern for the iconic Texas flag, with a CraftyisCool twist. He's smiling!

Hope you enjoy!


 Texas Flag
  by Allison Hoffman


Materials:
Worsted weight yarn
  White (A)
  Blue (B)
  Red (C)
Black embroidery floss
Polyester stuffing
Black 9mm safety eyes
White felt

Tools/Notions:
E Hook
Yarn needle
Embroidery needle

Key:
ch: Chain
sc: single crochet
st: stitch

Flag:
Row 1: With white yarn A, and starting with a long beginning yarn tail, ch 11. Sc into 2nd ch from hook and next 9 chs (10 sts)
Rows 2-13: Ch 1, turn. Sc into each st.
Change to red yarn B at end of Rnd 13.
Rnds 14-26: Ch 1, turn. Sc into each st.
Fasten off and leave a long tail for sewing.

Blue Side of Flag:
Row 1: With blue yarn C, ch 7. Sc into 2nd ch from hook and next 5 chs (6 sts)
Rows 2-26: Ch 1, turn. Sc into each st.
Fasten off and leave a long tail for sewing.

Assembly:
Align edges of Flag and Blue Side of Flag. Stitch together with blue yarn tail.

Fold panel and stitch long edge of blue/white and blue/red edges with yarn tail. This will be the back center seam.

Flatten the Flag so red is at the bottom and white is at the top. Stitch the blue short edge closed with matching yarn.

Insert safety eyes as shown and stuff Flag.


Stitch remaining edge closed and weave in ends.

With black embroidery floss, stitch a loose “v” shape for a smile.

On a small piece of white felt, lightly draw a star with a disappearing ink pen or pencil. Cut the star from the felt, flip over, and glue or stitch to the blue portion of the Flag as shown.


Attach a short piece of ribbon to top of Flag for hanging.

Please let me know if you have any questions about this pattern, or if you need any help.  The items you make from this pattern may be resold as long as credit is given as “Pattern by Allison Hoffman, craftyiscool.com”.  Thanks!


Yarns Used in this Project:
A: Hobby Lobby “I Love This Yarn” — White
B: Hobby Lobby “I Love This Yarn” — Red
C: Hobby Lobby “I Love This Yarn” — Royal

Wednesday, February 10, 2016

Kissing Piggies! Free Valentine's Day Pattern

KISSING PIGGIES

I wrote this pattern for Michael's stores a couple of years ago for Valentine's Day. They make a cute little gift for your special someone!

Two sweet little piggies kiss with the help of magically magnetic snouts. Crocheted in squishy soft Loops & Threads® Snuggly Wuggly™ baby yarn, these two make precious Valentine's gifts that are fun to make and fun to play with.

MATERIALS

Loops & Threads "Snuggly Wuggly" – Pink (A, 1 skein) and Candy Pink (B, 1 skein)
Crochet Hook, Size 3.0mm (US D/3)
Tapestry Needle
Polyester fiber-fill
Black DMC Embroidery Floss (1 skein)
2 - Black rounded 0.63 cm (1/4") buttons with shank or 5mm safety eyes
2 - 0.63 cm (1/4") extra strength or heavy duty magnets
Embroidery Needle
Scraps of matching fabric (for ears)
White thread
INSTRUCTIONS

Body (Make one with yarn A, one with B)

With yarn and D hook, make an adjustable ring, ch 1, sc 6 into ring. Pull tail gently to close ring.

Rnd 1: Work 2 sc into each st (12 sts)

Rnd 2: *(2 Sc into next st, sc into next st), rep from * to end of rnd (18 sts)

Rnd 3: *(2 Sc into next st, sc into next 2 sts), rep from * to end of rnd (24 sts)

Rnd 4: *(2 Sc into next st, sc into next 3 sts), rep from * to end of rnd (30 sts)

Rnd 5: *(2 Sc into next st, sc into next 4 sts), rep from * to end of rnd (36 sts)

Rnds 6-14: Sc into each st around.

Rnd 15: *(Sc2tog, sc into next 4 sts), rep from * to end of rnd (30 sts)

Rnd 16: *(Sc2tog, sc into next 3 sts), rep from * to end of rnd (24 sts)

Rnd 17: *(Sc2tog, sc into next 2 sts), rep from * to end of rnd (18 sts)

*Insert a stitch marker to hold your place. If you are using safety eyes, insert them now according to package directions, between Rnds 4 and 5, 9 sts apart. Stuff body firmly. Continue adding stuffing as you complete the next two rounds.

Rnd 18: *(Sc2tog, sc into next st), rep from * to end of rnd (12 sts)

Rnd 19: Sc2tog around (6 sts)

*You will continue crocheting to make the tail.

Row 20: Sl st into next st, ch 8, work 3 sts into 2nd ch from hook and next 5 ch, sl st into next st (18 sts)


Fasten off, leaving a long strand of yarn for sewing. Use a yarn needle to weave the remaining strand through the last round, closing the hole. Weave in ends.


Snout (Make one with yarn A, one with B)

With yarn and D hook, make an adjustable ring, ch 1, sc 6 into ring. Pull tail gently to close ring.

Rnd 1: Work 2 sc into each st (12 sts)

Rnd 2: Working into Back Loops Only (BLO), sc into each st around (12 sts)

Rnd 3: Working into both loops of each st, sc into each st (12 sts)

Fasten off, leaving a long tail for sewing. Use black embroidery floss to embroider two straight stitches onto Snout for nostrils.

Sew Snout to Body, centering it between the eyes, and leave an opening. Insert the magnet into the Snout, then fill in with stuffing. Finish sewing opening closed. Weave in ends.


When creating second Snout, make sure to check that the magnets are situated in each Snout to attract, rather than repel, each other.


Legs (Make four with A, four with B)

With yarn and D hook, make an adjustable ring, ch 1, and sc 5 into ring. Pull tail gently to close ring.

Rnds1-5: Sc into each st around (5 sts)

Fasten off and leave a long tail. No stuffing is necessary. Sew Legs to underside of Body.

Ears (Make two with A, two with B)

With yarn and D hook, make an adjustable ring, ch 1, and sc 3 into ring. Pull tail gently to close ring.

Rnd 1: Work 2 sc into each st around (6 sts)

Rnd 2: *(2 Sc into next st, sc into next st), rep from * to end of rnd (9 sts)

Rnd 3: 2 Sc into next st, sc into next 8 sts (10 sts)

Rnd 4: Sc into next 5 sts, 2 sc into next st, sc into next 4 sts (11 sts)

Rnd 5: Sc into each st around.

Fasten off and leave a long tail for sewing. Flatten Ear to form a triangle. Sew to Body three rows behind each eye.

Flower (Make one with B)

With yarn B, make an adjustable ring, ch 1, and sc 9 into ring. Sl st the opening closed.

Rnd 1: *(Ch 1, dc and hdc into next st, sl st into next st), rep from * to end of rnd. Last sl st is made into first st of the round.

Fasten off, leaving a long tail. Sew onto Piggie's head near her ear.

Finishing

Thread the embroidery needle with embroidery floss, knotting one end. Insert the needle into the Body under the Snout and make a "v" smile with the embroidery thread, keeping the stitches loose to round out the smile. Bring needle back up to the surface between stitches and knot the thread close to the fabric. Insert needle back into Body and out through a stitch, clipping it close to the surface so that it retracts back inside.

Cut two 0.63 cm (¼") triangles from fabric scraps and stitch into place on Ears with white thread.


Abbreviations
Ch: Chain
Sc: Single Crochet
Hdc: Half Double Crochet
Dc: Double Crochet
St: Stitch
Rnd: Round
Rep: Repeat
Techniques

Adjustable ring: Make a ring with yarn. Insert hook into ring, yarn over and draw up a loop. Ch 1, as directed in pattern. Work the stitches required in pattern into the ring. When complete gently, but firmly, pull tail to close up the ring.

BLO(Back Loops Only): Instead of inserting hook under both loops of the next stitch, insert hook under only the back loop of the stitch. This leaves an unworked loop in the front.

TIPS

The pieces are all crocheted in the round in unjoined spirals. Use a locking stitch marker if necessary to mark the beginning of each round. When you complete a round, move the marker to the loop on your hook and continue crocheting.

Oink Oink! Enjoy! Happy Valentine's Day!
Related Posts Plugin for WordPress, Blogger...