


When I was little there was a gift shop in my hometown that sold lots of little stuffed animals. They had some that turned inside out to turn into something else; I remember a caterpillar that turned into a butterfly, and some eggs that "hatched" into little birds. I loved those things! I made my own version, easy to crochet, that will be a perfect Easter springtime gift.
* This pattern was originally written for Michaels.com.
Easter Basket Babies
by
Allison Hoffman, craftyiscool.com
On one
side, a colorful trio of eggs rest in a soft bed of Easter grass. Push the eggs
through to the other side, flip it over, and three sweet Easter babies are
hatched!
Materials List
Loops
& Threads "Impeccable" – Aqua (A, 1 skein), Lavender (B, 1
skein), & White (C, 1 skein)
Loops
& Threads "Impeccable Ombre" -- Luxury (D, 1 skein)
Loops
& Threads "Charisma Baby" -- Yellow (E, 1 skein)
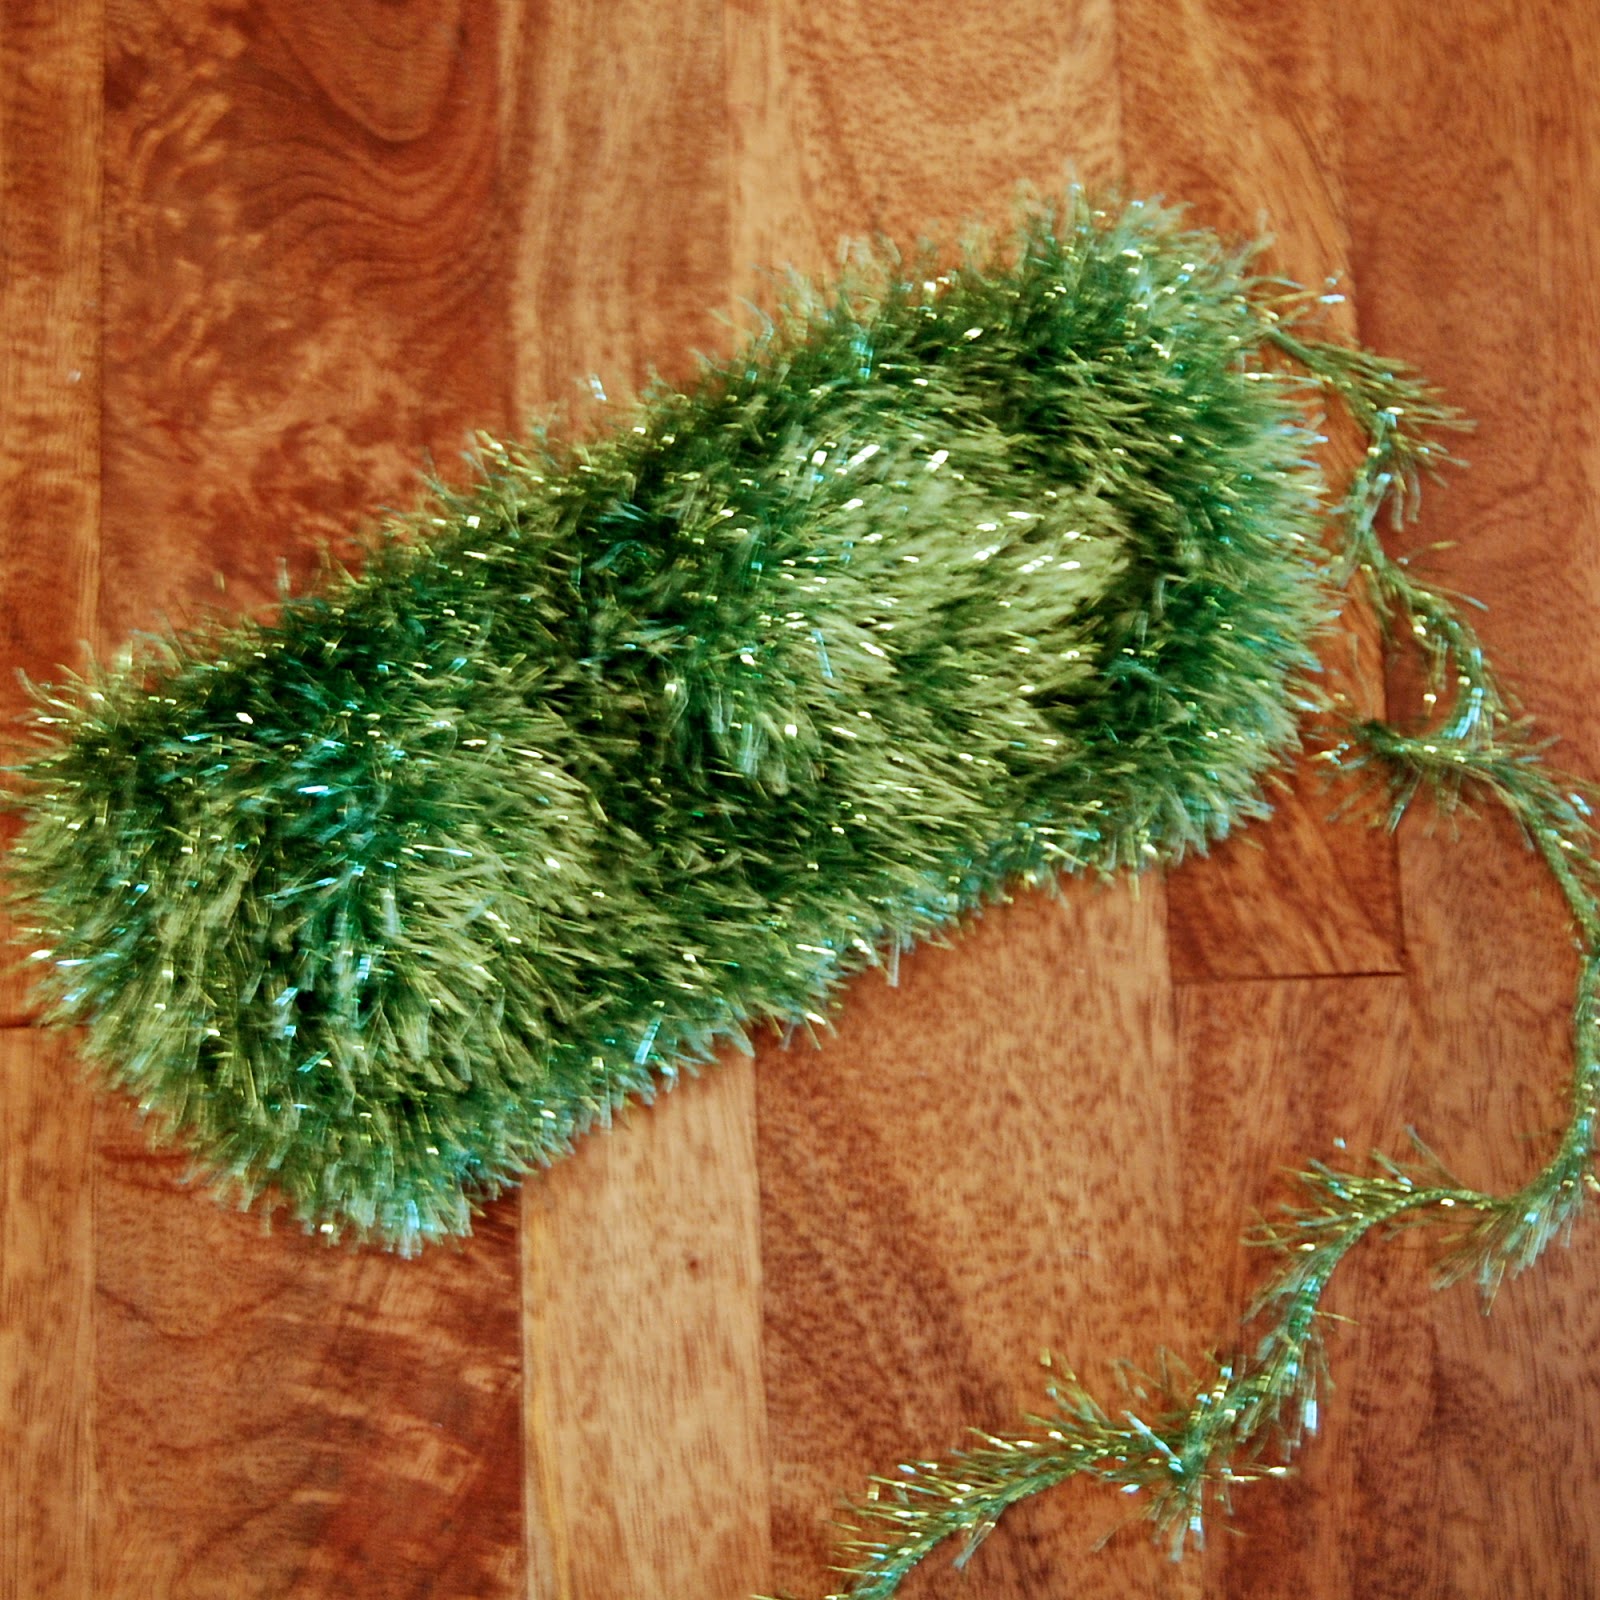
Martha
Stewart Crafts "Glitter Eyelash" -- Peridot (F, 2 skeins) *I believe this is discontinued but green fur/eyelash yarn is available from other brands
Crochet
Hooks, Sizes 3.5mm (US E/4) and 4mm (US G/6)
Tapestry
Needle
Black,
Pink, White DMC Embroidery Floss (1 skein each)
Embroidery
Needle
Blue,
white, and orange felt
Craft
glue
Pink
blush
Notes:
The
pieces are all crocheted in the round in unjoined spirals. Use a locking stitch
marker if necessary to mark the beginning of each round. When you complete a
round, move the marker to the loop on your hook and continue crocheting.

Egg (Make three; one each with yarns A, B, and D)
With
yarn and E hook, make an adjustable ring, ch 1, sc 6 into ring. Pull tail
gently to close ring.
Rnd 1:
Work 2 sc into each st (12 sts)
Rnd 2:
*(2 Sc into next st, sc into next 4 sts), rep from * to end of rnd (15 sts)
Rnd 3:
*(2 Sc into next st, sc into next 5 sts), rep from * to end of rnd (18 sts)
Rnd 4:
*(2 Sc into next st, sc into next 6 sts), rep from * to end of rnd (21 sts)
Rnd 5:
*(2 Sc into next st, sc into next 7 sts), rep from * to end of rnd (24 sts)
Rnds
6-13 Sc into each st around.
Rnd 14:
*(Sc2tog, sc into next 5 sts), rep from * to end of rnd (18 sts)
Rnd 15:
Sc into each st around.
Fasten
off, leaving a long strand of yarn for sewing. Set aside.

Chick (Make two with yarn E)
With
yarn and E hook, make an adjustable ring, ch 1, sc 6 into ring. Pull tail gently
to close ring.
Rnd 1:
Work 2 sc into each st (12 sts)
Rnd 2:
*(2 Sc into next st, sc into next st), rep from * to end of rnd (18 sts)
Rnds
3-5: Sc into each st.
Rnd 6:
*(Sc2tog, sc into next 4 sts), rep from * to end of rnd (15 sts)
Rnd 7:
Sc into each st.
Rnd 8:
*(2 Sc into next st, sc into next 4 sts), rep from * to end of rnd (18 sts)
Rnd 9:
*(2 Sc into next st, sc into next 2 sts), rep from * to end of rnd (24 sts)
Rnd 10:
*(2 Sc into next st, sc into next 7 sts), rep from * to end of rnd (27 sts)
Rnds
11-12: Sc into each st.
Rnd 13:
*(Sc2tog, sc into next 7 sts), rep from * to end of rnd (24 sts)
Rnd 14:
Sc into each st.
Fasten
off, leaving a long tail for sewing.

Cut two tiny circles from blue felt, two
slightly larger circles from white felt. Layer the blue and white circles for
eyes and sew onto Chick with a tiny stitch (or French knot) of white or black embroidery
floss. Glue an orange triangle onto Chick for a beak. Set Chicks aside.

Bunny Body (Make one with yarn C)
With
yarn and E hook, make an adjustable ring, ch 1, and sc 6 into ring. Pull tail
gently to close ring.
Rnds
1-8: Repeat pattern for Chick, ending up with 18 sts at the end of Rnd 8.
Rnd 9:
*(2 Sc into next st, sc into next 5 sts), rep from * to end of rnd (21 sts)
Rnd 10:
*(2 Sc into next st, sc into next 6 sts), rep from * to end of rnd (24 sts)
Rnds
11-14: Sc into each st around.
Rnd 15:
*(Sc2tog, sc into next 6 sts), rep from * to end of rnd (21 sts)
Rnd 16:
*(Sc2tog, sc into next 5 sts), rep from * to end of rnd (18 sts)
Fasten
off and leave a long tail.
Cut two
tiny circles from blue felt, two slightly larger circles from white felt. Layer
the blue and white circles for eyes and sew onto Bunny with a tiny stitch (or
French knot) of white embroidery floss.
Stitch
an elongated X onto the Bunny's face with black embroidery floss for nose and
mouth. Stitch tiny straight stitches at the edges for an upturned smile. Fill
in the top of the X with satin stitch in pink embroidery floss. Set Bunny
aside.
Bunny Ears (Make two with C)
With
yarn and E hook, make an adjustable ring, ch 1, and sc 3 into ring. Pull tail
gently to close ring.
Rnd 1:
Work 2 sc into each st around (6 sts)
Rnds
2-6: Sc into each st.
Rnd 7:
Sc2tog around (3 sts)
Fasten
off and leave a long tail for sewing. Flatten Ears and sew to Bunny on the top
of his head. Fill in inside of Bunny's Ears with pink blush.
Bunny Arms (Make two with C)
With
yarn and E hook, make an adjustable ring, ch 1, and sc 6 into ring. Pull tail
gently to close ring.
Rnds
1-4: Sc into each st.
Fasten
off and leave a long tail for sewing. Flatten Arms and sew to the front of
Bunny. Stuffing is not necessary.
Nest (Make one with F)
With
yarn F and G hook, ch 48, keeping stitches loose. Join with a sl st into the
first ch to form a ring.
Rnd 1:
Sc into each st around (48 sts)
Rnd 2:
*(2 Sc into next st, sc into next 7 sts), rep from * around (54 sts)
Rnd 3:
*(2 Sc into next st, sc into next 8 sts), rep from * around (60 sts)
Rnd 4:
*(2 Sc into next st, sc into next 9 sts), rep from * around (66 sts)
Rnd 5:
*(2 Sc into next st, sc into next 10 sts), rep from * around (72 sts)
Rnd 6:
*(2 Sc into next st, sc into next 11 sts), rep from * around (78 sts)
Rnd 7:
*(2 Sc into next st, sc into next 12 sts), rep from * around (84 sts)
Rnds
8-9: Sc into each st around.
Rnd 10:
*(Sc2tog, sc into next 12 sts), rep from * around (78 sts)
Rnd 11:
*(Sc2tog, sc into next 11 sts), rep from * around (72 sts)
Rnd 12:
*(Sc2tog, sc into next 10 sts), rep from * around (66 sts)
Rnd 13:
*(Sc2tog, sc into next 9 sts), rep from * around (60 sts)
Rnd 14:
*(Sc2tog, sc into next 8 sts), rep from * around (54 sts)
Rnd 15:
*(Sc2tog, sc into next 7 sts), rep from * around (48 sts)
Fasten
off, leaving a long tail. Flatten the tube you've just created. Thread the tail
onto a yarn needle and sew the first and last rounds together. Weave in ends.
Assembly

Sew
each Egg to a Chick or Bunny, lining up the bottom row of each piece, stitch to
stitch. No stuffing is necessary. Weave in ends.

Line up
the seam of the Egg/Bunny with the inside edge of the Nest. Using a strand of
white yarn C and a yarn needle, sew along the front of the Egg/Bunny, stitching
it to the edge of the nest, for 12 sts. Weave in ends. Repeat for the remaining
Egg/Chicks, using yellow yarn E, evenly spaced around the inner edge of the
Nest. Chicks may be facing forward with the Bunny or they can all face outward.


For a
Nest full of eggs, push each Chick and the Bunny up into the Eggs, stuffing
them. To "hatch", invert the Nest and pull out the Chicks and Bunny,
stuffing the Egg into them.
Abbreviations
Ch:
Chain
Sc:
Single Crochet
St:
Stitch
Rnd:
Round
Rep:
Repeat
Sc2tog:
Single Crochet 2 stitches Together
Techniques
Adjustable
ring: Make a ring with yarn. Insert hook into ring, yarn over and draw up a
loop. Ch 1, as directed in pattern. Work the stitches required in pattern into
the ring. When complete gently, but firmly, pull tail to close up the ring.
A very helpful post for those celebrating Easter all over the world. The cute gifts are easy to make and look perfect! Thanks for this amazing post and happy Easter everyone.
ReplyDeleteHi Allison,
ReplyDeleteMy name is Anuj Agarwal. I'm Founder of Feedspot.
I would like to personally congratulate you as your blog Crafty Is Cool has been selected by our panelist as one of the Top 50 Amigurumi Blogs on the web.
http://blog.feedspot.com/amigurumi_blogs/
I personally give you a high-five and want to thank you for your contribution to this world. This is the most comprehensive list of Top 50 Amigurumi Blogs on the internet and I’m honored to have you as part of this!
Also, you have the honor of displaying the badge on your blog.
Best,
Anuj
I was thinking for a new idea to gift my neice on her birthday this winter and here i got it finally. Thes knitted animals is a good idea for a gift she will love it.
ReplyDeleteYou want to create a beautiful blanket but also avoid the use of too many colors so that the blanket won't clash with other fabrics. Click here to get more information about bamboo knitting needles.
ReplyDeleteEWE.de Email Login
ReplyDeleteSuch a useful Information. Thanks for sharing with us.
ReplyDeleteIf you are looking for a well-trained electrician, Todd Peters Electrician is the best Electrician Rancho Cucamonga, CA. We offer Professional Electrical Installation Services for Home and Business Needs. If you want to Hire the Best Electrician, you can contact us via a toll-free number and visit the website.
Useful Information. I appreciate your knowledge and your ideas. Keep sharing again.
ReplyDeleteHome In Home Remodel & Repair LLC is a leading Water Damage Company. We provide reliable and safe water damage and restoration functionality. For water damage and restoration service, call us today.
Excellent Post. I appreciate your knowledge and your hard work. Thanks for sharing with us.
ReplyDeleteIf you are looking for the Best Personal Loan Provider In India. do not go anywhere. Easy Loan Mart is one of the leading loan service providers with low-interest rates. We provide loan services based on your unique circumstances. We have an online personal loan facility, you can also apply for a personal loan online. To get an instant approval for a low EMI personal loan, visit our website.
If you are looking for orange county solar companies at affordable or reasonable prices. Look no further, Burge Solar Power is one of the best solar panel companies in California that specialises in installing the best solar panels at residential and commercial sites.
ReplyDeleteInformative Post. Thanks for giving me this information. Keep on Posting.
ReplyDeleteTodd Peters Electric offers the best Electrician Riverside CA. We provide a wide range of electrical services to residents near Riverside County. If you need repair or remodeling in your home, you can contact our professionals. We are always available to assist you.
Have you been looking for the Zelle customer service support, than you have arrived at the right destination. At this destination you will find the customer service help from zelle, and if you found some issues in using zelle, then you can resolve them by just a click on the given link.
ReplyDeleteCash app won’t let me send money what should I do to send money?
ReplyDeleteCash app won’t let me send money what should I do to send money? if you want to know what should you can do if cash app won’t let you send money then you have knocked on the correct door to know. Here you will know what should you do? If you just have to click on this link and your work will be done in seconds.
스포츠토토 It's awesome designed for me to have a web site, which is helpful designed for my knowledge. thanks admin
ReplyDeleteHi everyone, it’s my first go to see at this web page, and paragraph 카지노
ReplyDelete바카라사이트 Yay google is my queen assisted me to find this great web site!
ReplyDeletesocial media service smm panel
ReplyDeleteWith social724, you can start to benefit from instagram takipçi satın al services. By the way, thanks for the content.
As a kid, I remember how exciting it was to receive an Easter basket. The night before Easter, we would place our baskets on the table, and the Easter Bunny would fill them with candy and other treats as we slept.
ReplyDeleteBecause there aren't many square crochet Easter basket patterns, this one stands out. It's nevertheless a feminine spring basket thanks to the pastel colors and flower.
ReplyDeleteExcellent Post. I appreciate your knowledge and your hard work. Thanks for sharing with us.Are you looking for dairy franchise online GetDistributors provides latest Paneer franchise opportunities in India. Find complete details of Paneer franchises or open franchise store with low cost .Contact our Dairy Franchise team & learn the benefits of investing in the best franchise.
ReplyDeleteThank you sir, I like your thoughts and your ideas this article, and your creativity logic, This is a wonderful article. I will helpful this article.thank you for sharing this blog. I will improve by the way we have one of the best hard disk cleaner called WinDirStat which will clean your all un needed filed from your PC.
ReplyDeleteYour story touched me a lot. Looking forward to more updates. 안전놀이터, 사설토토
ReplyDeleteThis blog is very useful to me. I can see new problems in your article. 토토사이트
ReplyDeleteWe value you providing useful information for this page. Keep posting. I believe this website is a fantastic resource after perusing a few of your blog posts. Trying to find the ideal middle name? Use generate middle name to come up with the ideal girl's or boy's middle name for any situation!
ReplyDeleteThanks for sharing this piece of information.
ReplyDelete"I would like to thanks' for the efforts you have put in writing this blog.
ReplyDeletethis is the best way to share the great article with everyone
ReplyDeleteYour writing is impressive. thank you
ReplyDeleteHi! this is often nice article you shared with great information.
ReplyDeleteThese knitted creatures would make a thoughtful gift that she will like.
ReplyDeleteIt’s always nice when you can not only be informed, but also entertained!
ReplyDeleteThank you for sharing this fascinating information. Best of luck.
ReplyDeleteYour creative writing abilities inspired me to get my own blog now Thank you.
ReplyDeleteCool you write, the information is very good and interesting,
ReplyDeleteI like the helpful information that provide in articles. Keep doing it.
ReplyDeleteI read a lot of stuff here and I like the way you write. Good job!
ReplyDeleteThis blog is very informative the stuff you provide I really enjoyed reading
ReplyDeleteI love seeing blog that understand the value of providing a quality resource for free.
ReplyDeleteYou have great knowledge and expertise in writing such blogs.
ReplyDeleteIt’s a really good blog, but I’ve collected the best news. right here.
ReplyDeleteThanks to your writing, I am very happy to complete the process now.
ReplyDeleteYou really amazed me with your writing talent.
ReplyDeleteStay up the good work! You know, many people are looking round for this info.
ReplyDeleteI’m happy that you simply shared this helpful information with us.
ReplyDeletewoooow, amazing blog to read, thanks for sharing, and move on. finally
ReplyDeletethis type of useful article to read, keep it up
ReplyDeletekeep up the good work. Thank you
ReplyDeleteI really like your means of blogging.
ReplyDeleteThank you. I realized a lot of things using this
ReplyDeleteGreat blog site. Keep up the good work!
ReplyDeleteA very well article written . Keep up the good work!
ReplyDeleteWhat a nice information, great article.
ReplyDeleteThanks a lot for sharing this marvelous post. Very useful information!!
ReplyDeleteI am a fan of reading information. Thank you for this great blog.
ReplyDeleteThanks for discuss this, Love learning more on this topic. Extremely helpful!
ReplyDeleteThese Easter Basket Babies are absolutely adorable! Thank you for sharing such a creative and fun pattern – perfect for the season. Can’t wait to try this out! Also, if anyone ever finds themselves in need of expert legal help, feel free to check out this abogado de accidentes de camiones. It’s always great to have reliable professionals on your side!
ReplyDeleteI hope you continue to do this awesome blog work, I support you for your writing
ReplyDeleteI am hoping to view the same high-grade blog posts from you. Keep on Writing
ReplyDeleteI am really happy with the articles quality. Keep on blogging, its great!
ReplyDeleteThis is a wonderful blog that I want to read it twice! Thanks ! Keep it up.
ReplyDeleteReally rarely do I encounter a blog that’s both educative and entertaining.
ReplyDeleteGreat topic, but I'm not sure where you're getting your facts.
ReplyDeleteI appreciate you sharing such great information.
ReplyDeleteI genuinely enjoy reading on this internet site, it holds wonderful articles
ReplyDeletevery nice information really like it if you want to read more like this please
ReplyDeleteGreetings! Very helpful advice within this unique post! Thanks a lot... MM
ReplyDeleteHey, You’ve done an incredible job. keep it up! Beautiful story you make... MM
ReplyDeleteWow, happy to see this awesome post. Thanks for sharing a great information... MM
ReplyDeleteGreat delivery. Great arguments. Keep up the amazing spirit. Thankyouu!... MM
ReplyDeleteThank you for sharing nice information here. Keep it up Keep on sharing... MM
ReplyDeleteNice post. I learn something totally new and challenging on blogs, Its great... MM
ReplyDeleteI want to read more things about here! thanks for the beautiful info you made... MM
ReplyDeleteThis sort of clever work and reporting!
ReplyDeleteKeep up the superb works guys I've included you guys to my blogroll.
ReplyDeleteAmazing! This blog looks exactly like my old one!
ReplyDeleteI really enjoy reading. Keep writing good, thankyou!
ReplyDeleteKeep on writing man, you're awesome!
ReplyDeleteI am impressed with this blog work and skill you made here
ReplyDeleteThanks for this wonderful read. It is always so lovely
ReplyDeleteKeep working like that, great job!
ReplyDeleteThis is kind of info written in a perfect way
ReplyDeleteI enjoyed a lot. Great Article its really informative. goodjob! Thanks
ReplyDeleteLooking forward to reading more. Great article post. Fantastic. Thankyou
ReplyDeleteIts a great pleasure read this post. Awesome! Its full of information here
ReplyDeleteI have you bookmarked to check out new stuff post. keep it up. Its greatt
ReplyDeleteExplore endless pleasure with our premium anal beads ! Crafted from body-safe materials for smooth, satisfying sensations. Buy anal beads online with complete privacy and fast delivery discreet packaging guaranteed for your comfort and confidence every time.
ReplyDeleteYour personal stuffs is beautiful. All the time deal with it up! Thanks for this
ReplyDeleteYou make it enjoyable and you continue to care for to keep it smart.
ReplyDeleteI am very impressed with your writing I couldn’t think of this, but it’s amazing.
ReplyDeleteI feel very glad to find your Informative blog. Thanks a lot for sharing Great content
ReplyDeleteI wanted to say Appreciate providing these details, you're doing a great job with the site
ReplyDeleteAppreciate your quality stuff, That was really so useful and informative blog!
ReplyDeleteAppreciate it for helping out, excellent info.
ReplyDeleteGreat post.
ReplyDeleteGood work! Glad to have found your page!! This is such great work
ReplyDeleteIf AOL Desktop Gold not printing issue is causing frustration, it may be due to printer connection errors, outdated drivers, incorrect print settings, or software glitches. This problem can prevent emails, documents, or web pages from printing properly. Troubleshooting steps like updating printer drivers, checking default printer settings, restarting the software, or reinstalling AOL Desktop Gold can help resolve the issue quickly and restore normal printing functionality.
ReplyDeleteCanon Printer Error 6000 is a common issue that usually indicates a paper jam, carriage obstruction, or debris inside the printer. This error can prevent your Canon printer from functioning properly. Troubleshooting steps like checking for jammed paper, cleaning the encoder strip, and restarting the printer can help resolve the problem quickly and restore smooth printing.
ReplyDelete
ReplyDeleteMy brother recommended I might like this web site.
It's exactly what I'm looking for. I really appreciate your efforts in writing this kind of content for us.
ReplyDeleteYes, imagination is the most important thing especially if you are an artistic person or musician. Sometimes I feel the same about my writing.
ReplyDelete
ReplyDeleteGood content. You write beautiful things.
Your blog provided us with valuable information to work with. Keep blogging.
ReplyDeleteYour blog post is just completely quality and informative. Keep sharing.
ReplyDeleteValuable information with us. This will be very helpful for me and others
ReplyDeleteGreat Article. You have beautifully articulated it. This is very useful.
ReplyDeleteThank you for a good article. I gained knowledge from this article here.
ReplyDeleteThe information here will be useful. The article contains good and valuable content
ReplyDeleteYour information was very useful to me. That's exactly what I've been looking for.
ReplyDeleteThanks for the information from this blog that has been very helpful
ReplyDelete